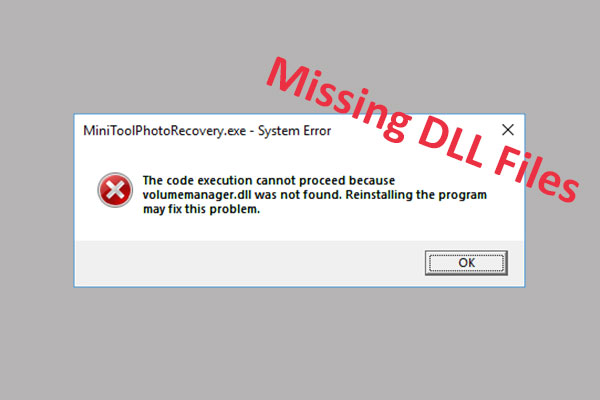
If you are experiencing the Entry Point Not Found error and don’t know how to deal with it, this post from MiniTool Solution can offer you some useful methods. You can try to repair the faulty DLL file with SFC, perform a system restore and more. Hope this post is useful to you.
The Entry Point Not Found Error Explained
If you are troubled by the Entry Point Not Found error, don’t worry too much. It is one of the most common problems associated with DLL files and you’re not the only person to experience it.
Keep reading. Here is some information about the Entry Point Not Found error.
In computer programming, the first instructions of a program need to be executed through an entry point and the program can access to command line arguments through it. In order to start the execution of a program, the loader or operating system on your computer need to pass control to the entry point of this program.
Thus, if you are unlucky to encounter the error message saying “Entry Point Not Found”, it means that your operating system has no access to this program and then you can’t run it.
If you want to fix this error, you can follow the possible fixed given below.
Methods to Fix the Entry Point Not Found Error
The following part will provide you with 6 workable methods to fix the Entry Point Not Found error. Right now, you can follow the instructions given below.
Method 1: Repair the Faulty DLL File with SFC
SFC, also called System File Checker, is a Windows utility. It can help you identify and repair corrupted system files. If your faulty DLL file is the system file, you can try to repair it with SFC. Here is a guide on how to do that.
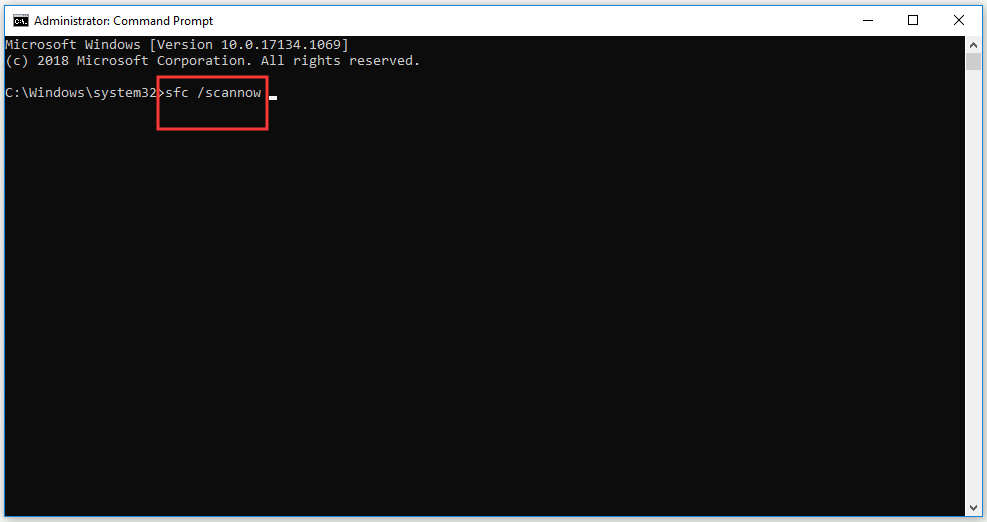
Step 1: Type cmd in the Search bar, right-click Command Prompt and choose Run as administrator. When the User Account Control window pops up, click Yes.
Step 2: Input this command: sfc /scannow and press Enter to run it. System File Checker will start to scan all system files and then help you repair the corrupted and missing system files.
Step 3: Wait until the process is over, and then restart your PC.
Now check if the Entry Point Not Found issue has been fixed. If you are still experiencing the same error, move down to the next method below.
Method 2: Perform a System Restore
If you have created a restore point ahead of time, now you can try to perform a system restore with the System Restore feature in Windows. In this way, your missing or corrupted DLL file will be restored. Here is a guide on how to do that.
Step 1: Type restore point in the Search box and then click Create a restore point.
Step 2: In the System Protection tab, click the System Restore… button.
Step 3: To continue, click Next from the new pop-up window.
Step 4: Select a restore point that you want to revert your system to and click the Next button.
Step 5: Now confirm you select a correct restore point that is created before your DLL file was corrupted or missing. Click Finish.
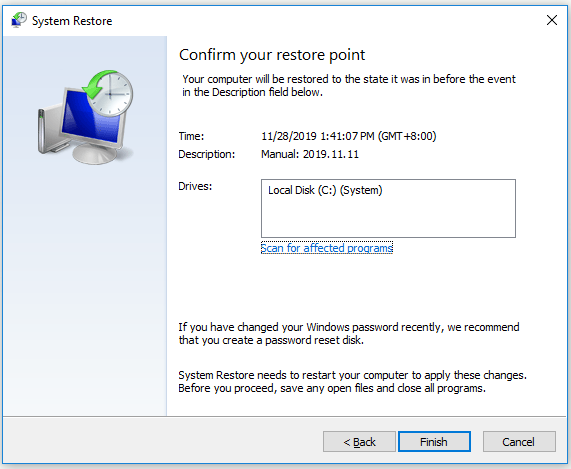
Step 6: After reading the warning message, click Yes to continue.
After the System Restore process is completed, open the problematic program again. Check if the error message “Entry Point Not Found” still pops up. If yes, try the next method below.
Method 3: Install the Correct DLL File
If you know which DLL file of the program is missing or damaged, it should be easy to fix this Entry Point Not Found error.
You could search for the name of that DLL file online, then download the correct file and install this file manually. However, you will run the risk of downloading the wrong files in this way, or even of infecting your PC with malware or viruses.
In this case, you can try to use DLL-files.com Client to fix this error. It is a reliable and powerful tool which is designed for fixing all DLL errors in one click. Now follow the instructions below to learn how to install the DLL file with DLL-files.com Client.
Step 1: Download DLL-files.com Client from the DLL‑files.com website.
Step 2: Install and run DLL-files.com Client.
Step 3: Input the name of the DLL file and click the Search for DLL file button.

Step 4: Choose the file that you want to install and click the Install button. You will need to buy or register the license key to start to install the file.
Wait until the installation is completed. Then check if the Entry Point Not Found error in Windows has been fixed. If you still encounter the same Entry Point Not Found error, try the next method.
Method 4: Reinstall the Problematic App
When you are running an app, the Entry Point Not Found DLL error appears, you can also try this method.
What you need to do is to uninstall the problematic app which triggers the Entry Point Not Found error from your computer and then reinstall it. The following part will show you how to uninstall an app from your computer.
Uninstall the Problematic App
Step 1: Press the Win key + I key to open Windows Settings.
Step 2: Click Apps and find the problematic app from the right list.
Step 3: Click it and then click the Uninstall button.
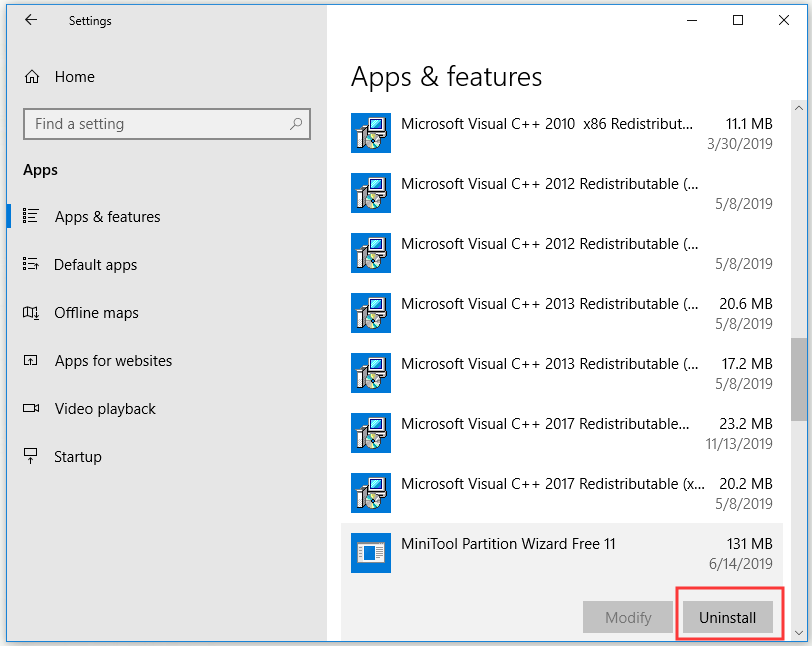
Step 4: A pop-up window will tell you “This app and its related info will be uninstalled”. If you are sure to do that, click Uninstall to continue.
Step 5: Follow the on-screen instructions to finish uninstalling this problematic app.
After finishing the uninstallation process, reinstall this app. After that, the Entry Point Not Found error should be solved perfectly.

Method 5: Install the Program That Contains the DLL File
If you don’t want to reinstall the whole app especially a big one, this method is suitable for you. It is quite useful if you know exactly which program contains the required DLL file.
In order to find out the exact program, try to search for the name of your faulty DLL file in Dll-files.com. Here are the steps to do that.
Step 1: Enter DLL‑files.com.
Step 2: Input the name of your faulty DLL file in the box under the Search for a DLL file to fix your DLL error: section, then press Enter.
Step 3: Click the result to the detailed information of the DLL file you’re searching for.
Step 4: Find out where the file comes from.
Step 5: Once the information is found, download and install programs that correspond to the Windows version from the reliable pages, such as Microsoft websites.
After that, check if the error has been solved. If not, move down to the last method.
Method 6: Scan for Viruses and Malware
Sometimes lurking malware or viruses on your PC could throw up the Entry Point Not Found error. If this scenario applies to you, run a full scan for any security risks with Windows Defender which is a built-in antivirus component of Windows or another antivirus program.

Run a Full Scan with Windows Defender
Step 1: Press the Win key + I key to open Windows Settings.
Step 2: Click Update & Security and click the Windows Defender option from the left side.
Step 3: Click the Open Windows Defender Security Center button from the right side.
Step 4: Click Virus & threat protection.
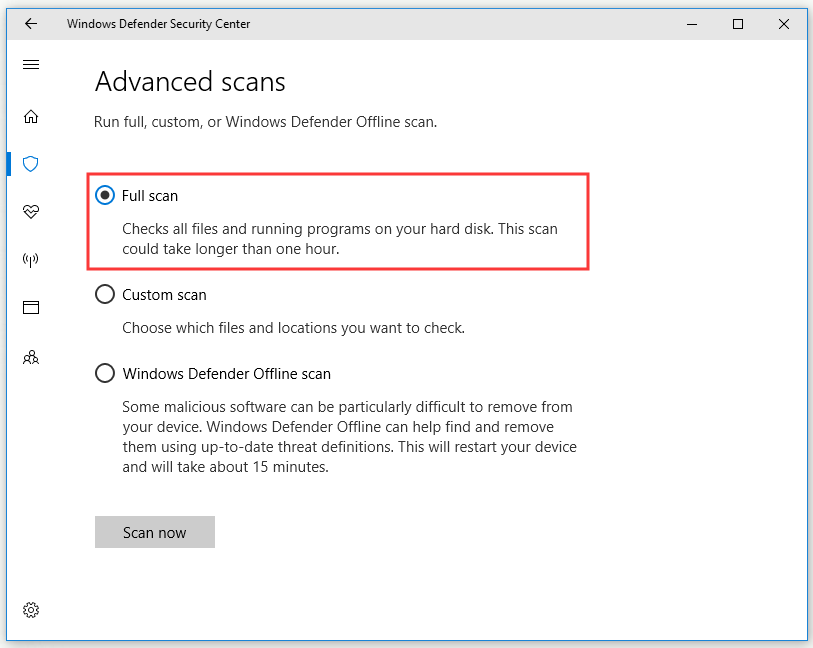
Step 5: Click Advanced scan next to the Quick scan button.
Step 6: Check Full scan and click Scan now. Windows Defender scans your computer and reports any findings.
![[SOLVED] Windows Defender Not Turning on in Windows 11/10/8/7](https://images.minitool.com/minitool.com/images/uploads/2018/12/windows-defender-not-turning-on-thumbnail.jpg)
If Windows Defender cannot detect any virus or malware on your computer, now try another antivirus program.
Wait for the scan to complete. Now you can remove the viruses or malware according to the instructions provided by the antivirus program. After that, restart the PC and check if the error has been fixed.
Useful Suggestion to Keep Your PC Safe
IF the Entry Point Not Found error you meet is really caused by malware or viruses, then your computer is in danger. Your system will crash and you may lose your important data due to virus attacks and malware. That’s a really frustrating situation if it is true.
Thus, it is highly recommended that you need to keep your PC safe. But how? Here is a useful suggestion for you: make a backup to protect it. A piece of free backup software – MiniTool ShadowMaker can help you do this job.
With it, you can back up files, folders, partitions, the hard drive or your Windows operating system. Besides, it offers automatic backup, differential and incremental backup to meet your different needs. Its functionality is more than this. You can also safely sync your important files or folders to two or more locations and you are also allowed to clone disk.
If you have a need, now download MiniTool ShadowMaker Trial and have a try. The Trial Edition gives you a 30-day free trial for all backup features. You can choose to purchase its Pro Edition by clicking this link if you want to use MiniTool ShadowMaker permanently.
MiniTool ShadowMaker TrialClick to Download100%Clean & Safe
The following part will show you how to back up data with MiniTool ShadowMaker.
Step 1: Choose a Backup Mode
1.Launch MiniTool ShadowMaker.
2.Click Keep Trail to keep using the Trial Edition.
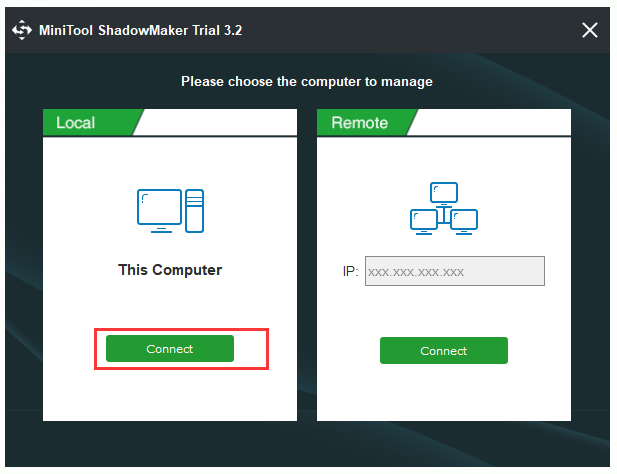
3.Then click Connect in the Local section to manage the local computer.
Step 2: Choose the Backup Source
1.Click Backup in the main page.
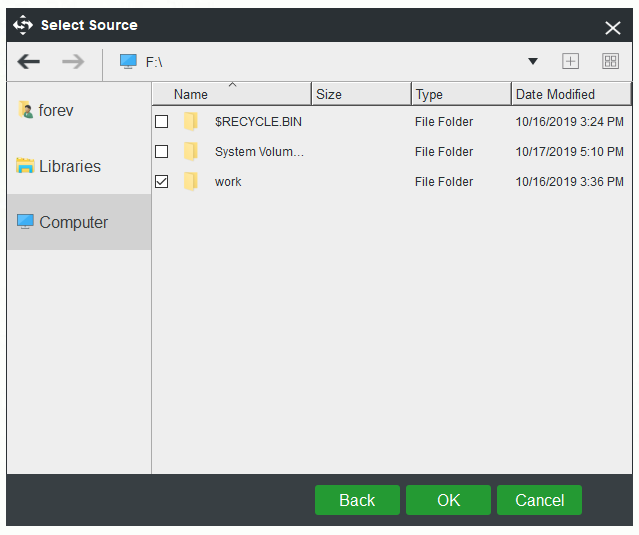
2.Click the Source tab, then select Folder and Files and choose the files which you want to back up.
3.Click OK to continue. You can also back up your disks or partitions by choosing the other option: Disk and Partitions.
Step 3: Select a Destination Path
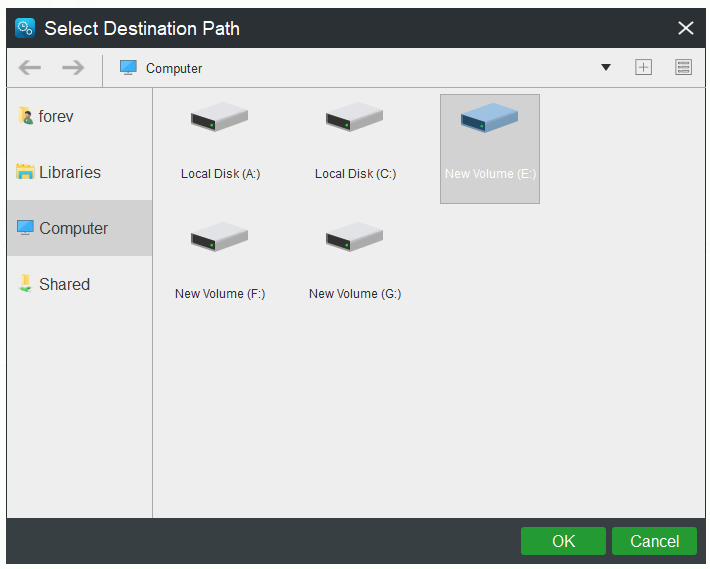
1.Click the Destination tab in the Backup page.
2.There are four available destination paths. Select a suitable one and then click OK. You are recommended to select an external hard drive as your destination path.
Step 4: Start to Back up
1.To start this backup task immediately, click Back up Now. If you want to delay the process, you can also choose Back up Later and then click Back up Now on the Manage page to continue the pending task.
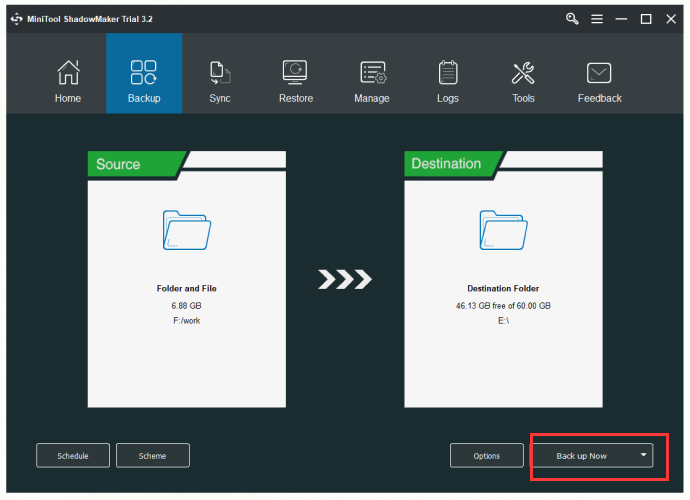
2.Confirm to perform the backup operation right now and click Yes. Meanwhile, you can also choose whether to check the option: Shut down the computer when all the running backup tasks are finished.
After you finish all the steps above, right now you should back up your data with MiniTool ShadowMaker successfully.
Conclusion
After reading this post, now you should clearly know how to fix the Entry Point Not Found error. At the same time, this post also introduces you to a powerful backup program – MiniTool ShadowMaker. Download it and you can try to make a backup with it.
MiniTool ShadowMaker TrialClick to Download100%Clean & Safe
If there are any problems when you are using MiniTool ShadowMaker, feel free to contact us via [email protected].