Data can be lost suddenly due to various reasons like virus attacks and accidental deletion. Backing up the disk to make a copy of those files can prevent this from happening. This post shows detailed steps and pictures about how to back up disk with MiniTool ShadowMaker.
Disk backup will back up all your files on the disk into a compressed image file, including all partitions on the disk, as well as the system files. If you back up a system disk, your computer can boot directly after restoration. MiniTool ShadowMaker supports backing up MBR disks, GPT disks, external hard drives, USB drives, and other storage devices that can be recognized by Windows.
Tip:
- Dynamic disk (only simple volumes included) can be backed up.
- MiniTool ShadowMaker can only back up one hard drive disk each time.
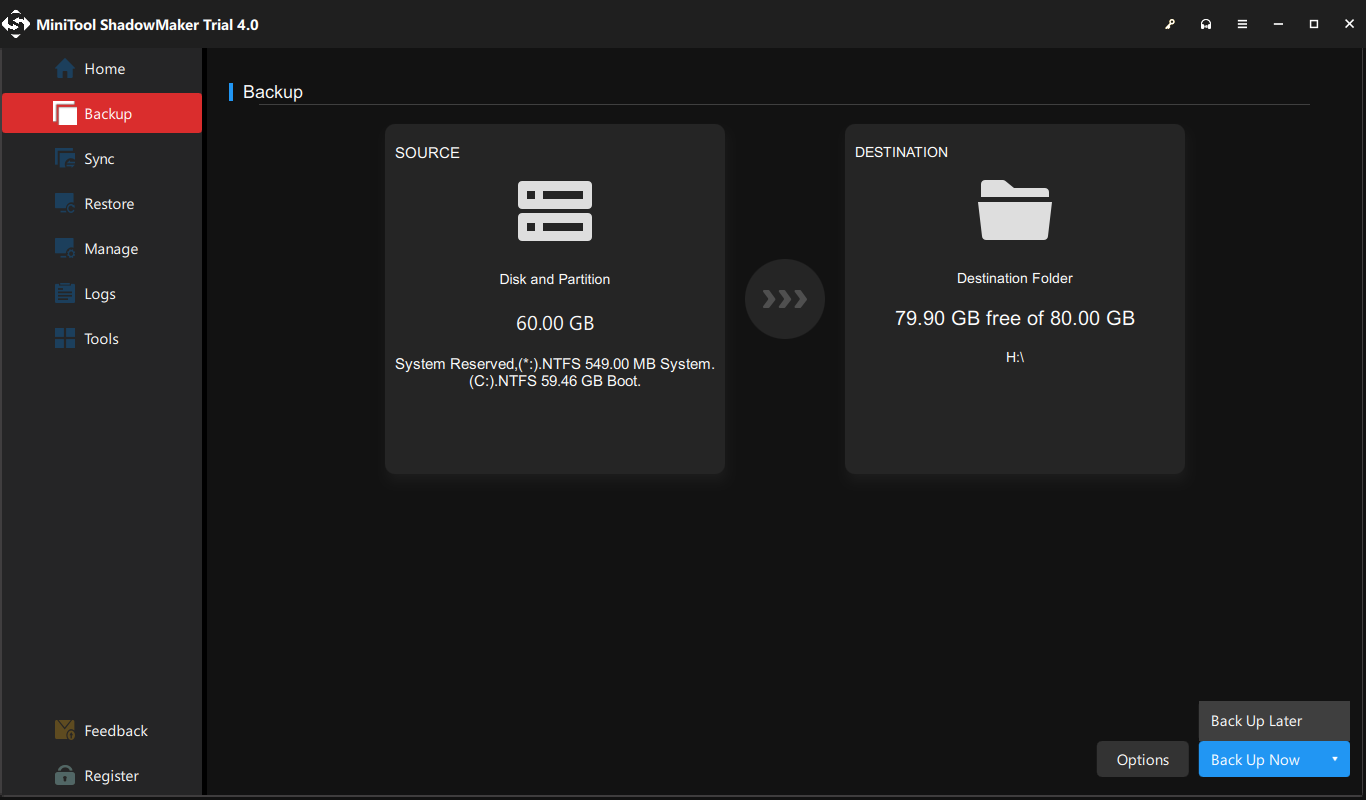
Step 1. Launch MiniTool ShadowMaker to enter the main interface.
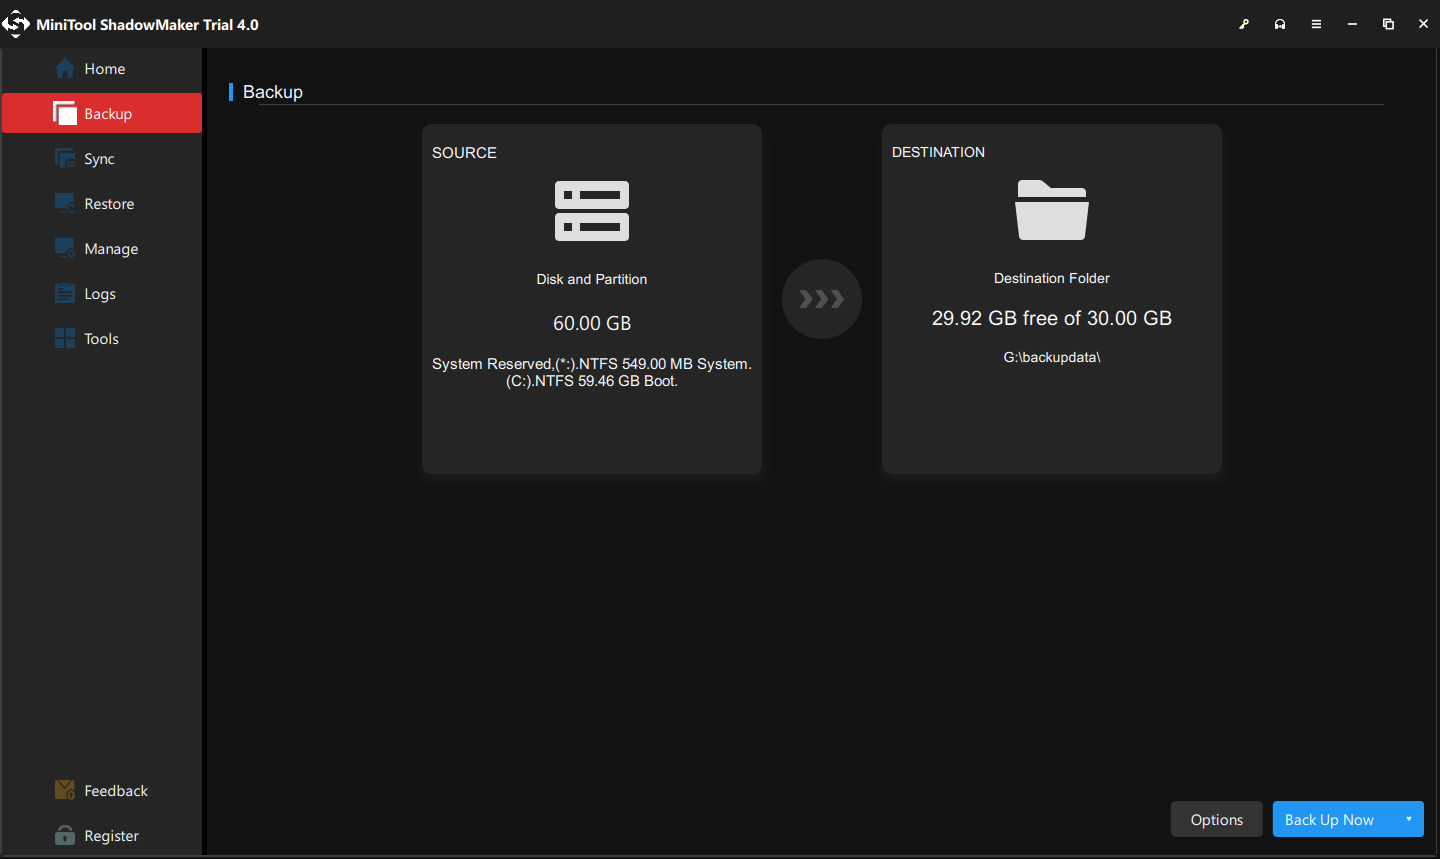
Step 2. Click the Backup tab in the left panel. Under Backup, click the SOURCE part.
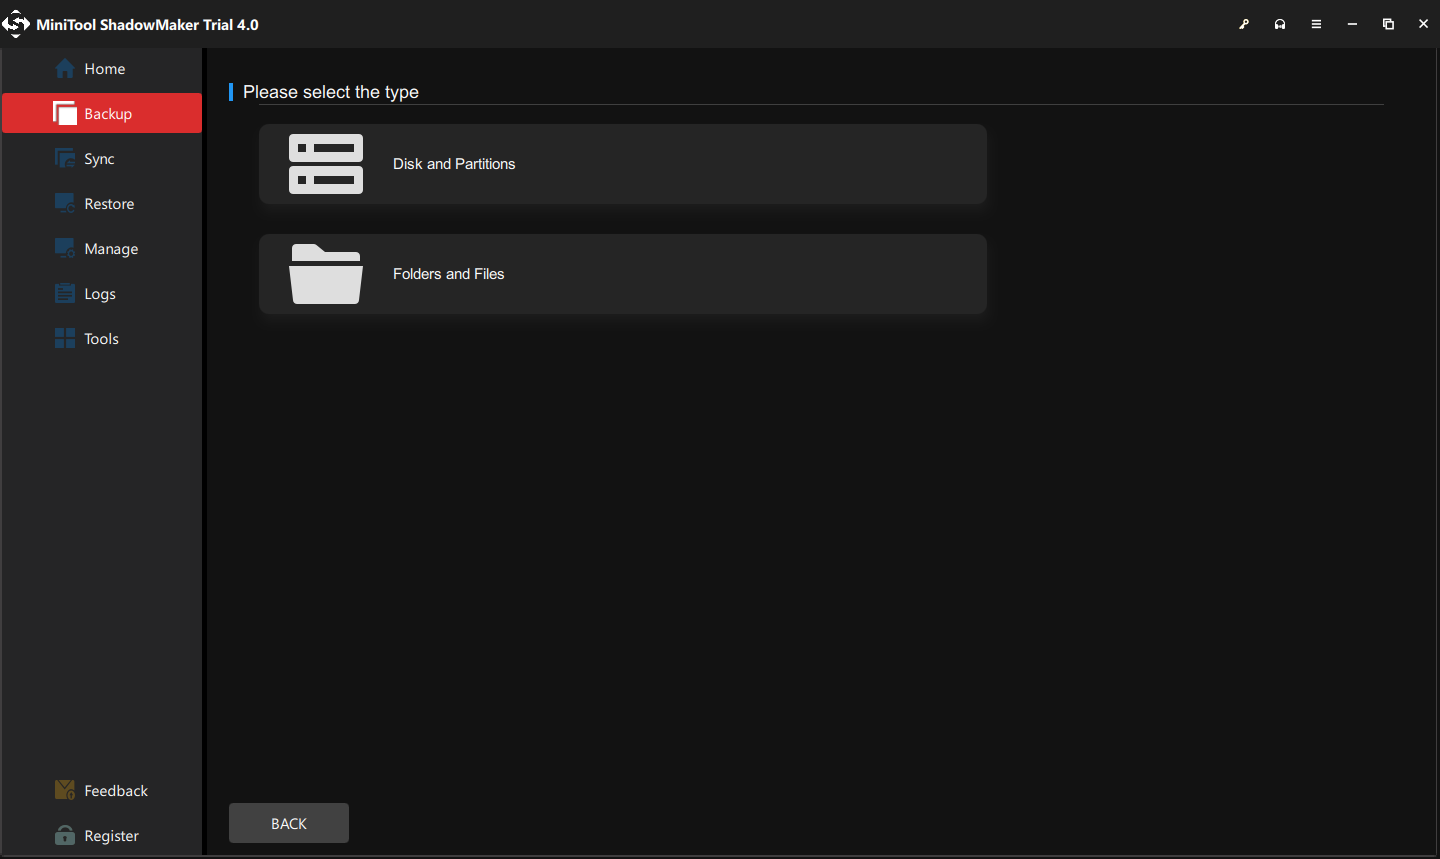
Step 3. Then click Disk and Partitions from the pop-up window.
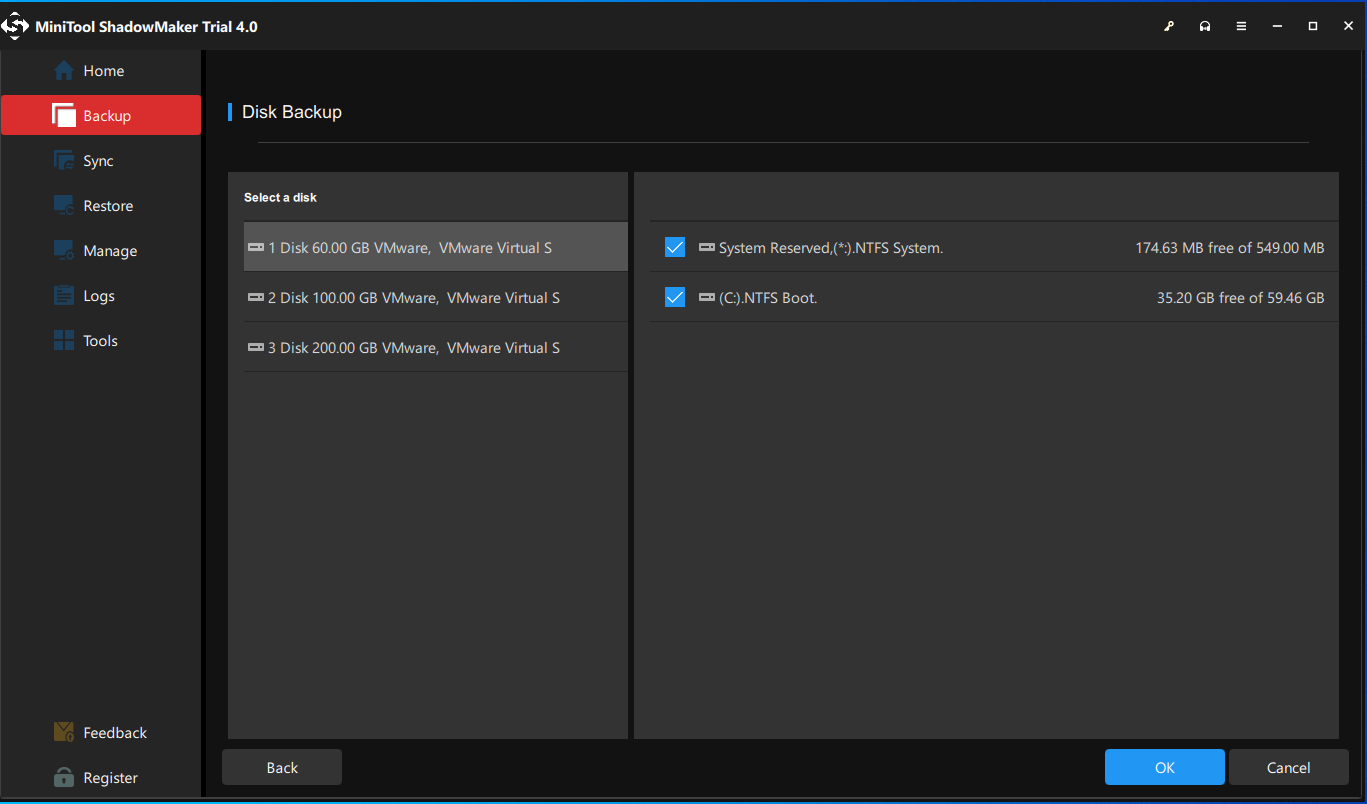
Step 4. Under the Disk Backup part, choose a disk and check all its partitions. Then, click OK.
Step 5. Then on the Backup page, click the DESTINATION part.
Step 6. Select the destination path. MiniTool ShadowMaker allows you to back up your computer to multiple places:
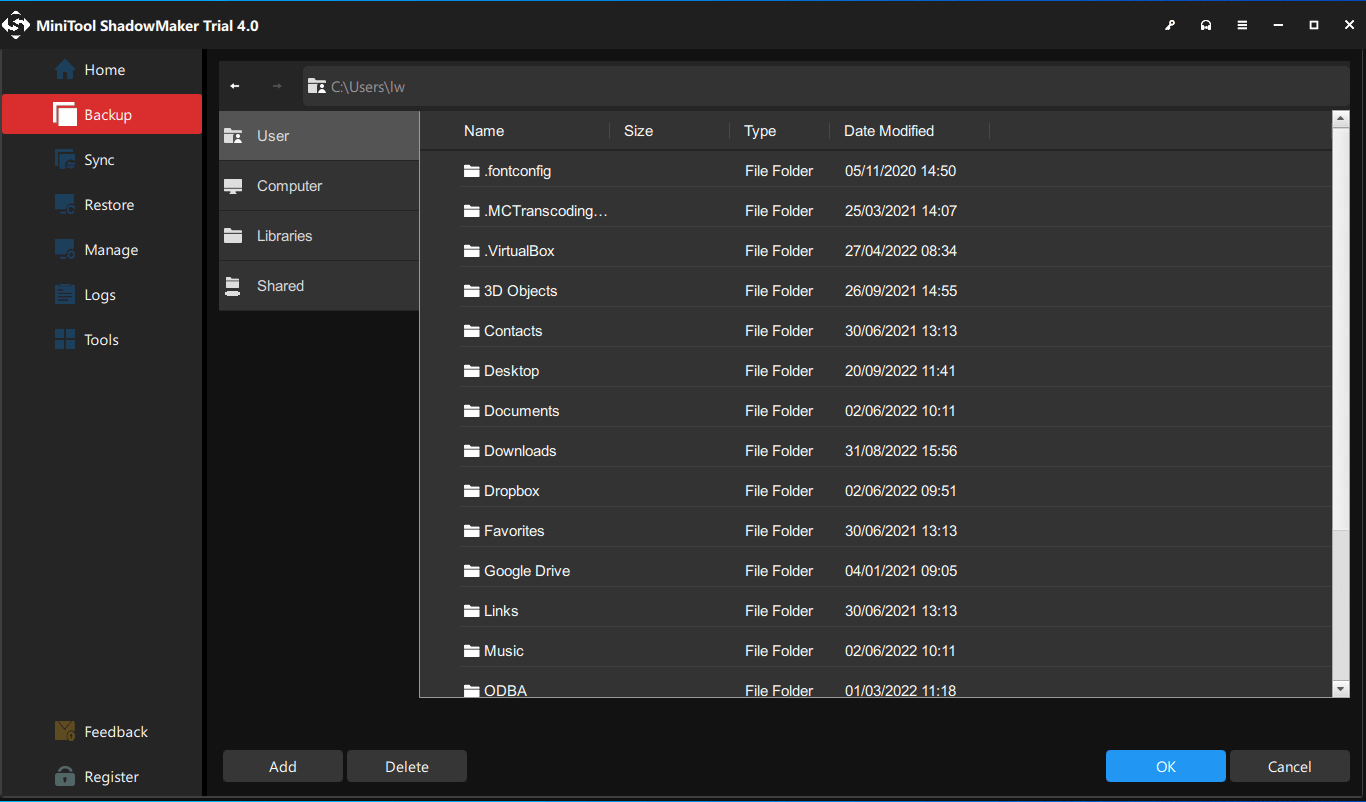
1. User account folder
Click the User tab, and all the folders under your user account folder will be displayed. Choose one folder as the destination location. If you back up the system disk, it’s not recommended to choose User as the destination since it belongs to the system drive.
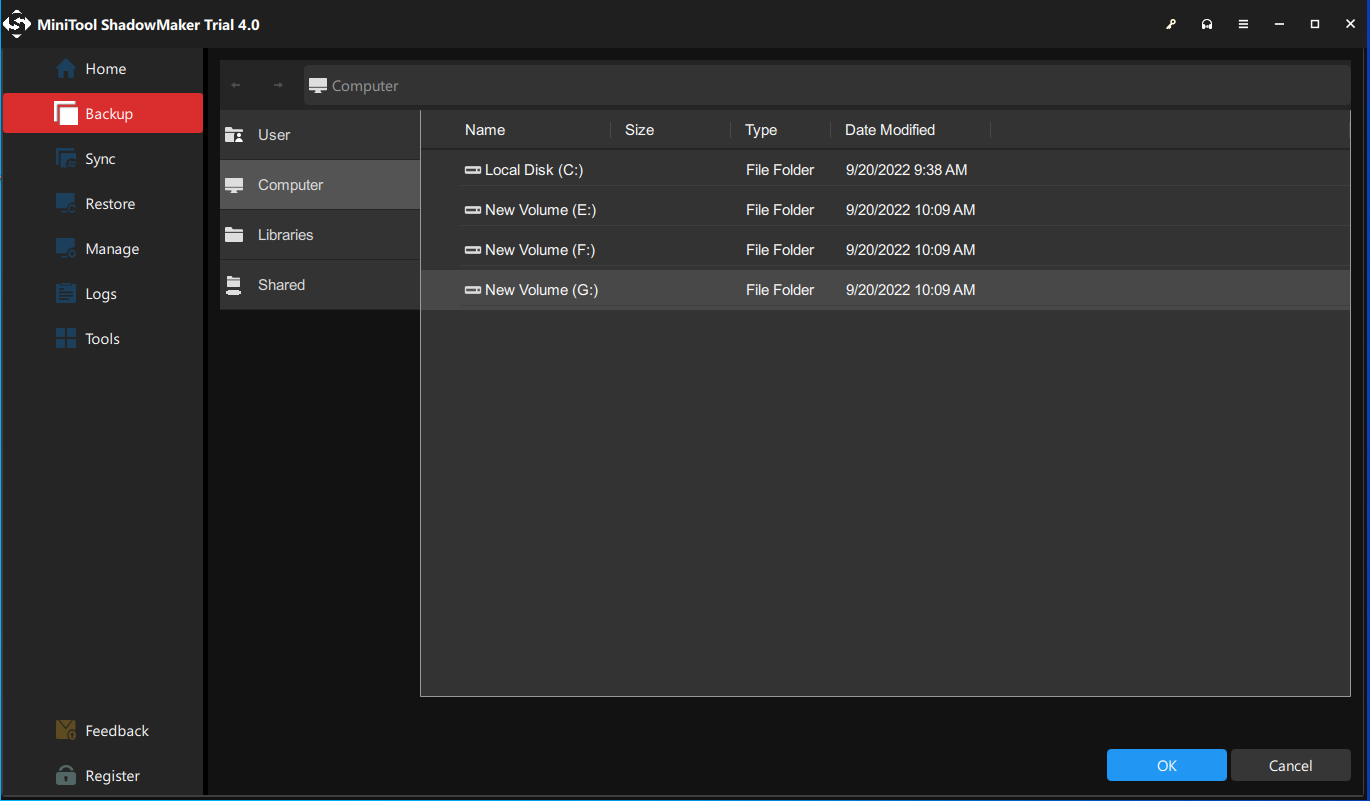
2. Computer
Under the Computer tab, all drives that Windows can detect will be listed. And you can choose a partition on your internal hard drive, external hard drive, or removable USB flash drive as the target place to store the backup image file. It is recommended to choose an external hard drive partition as the backup image storage location.
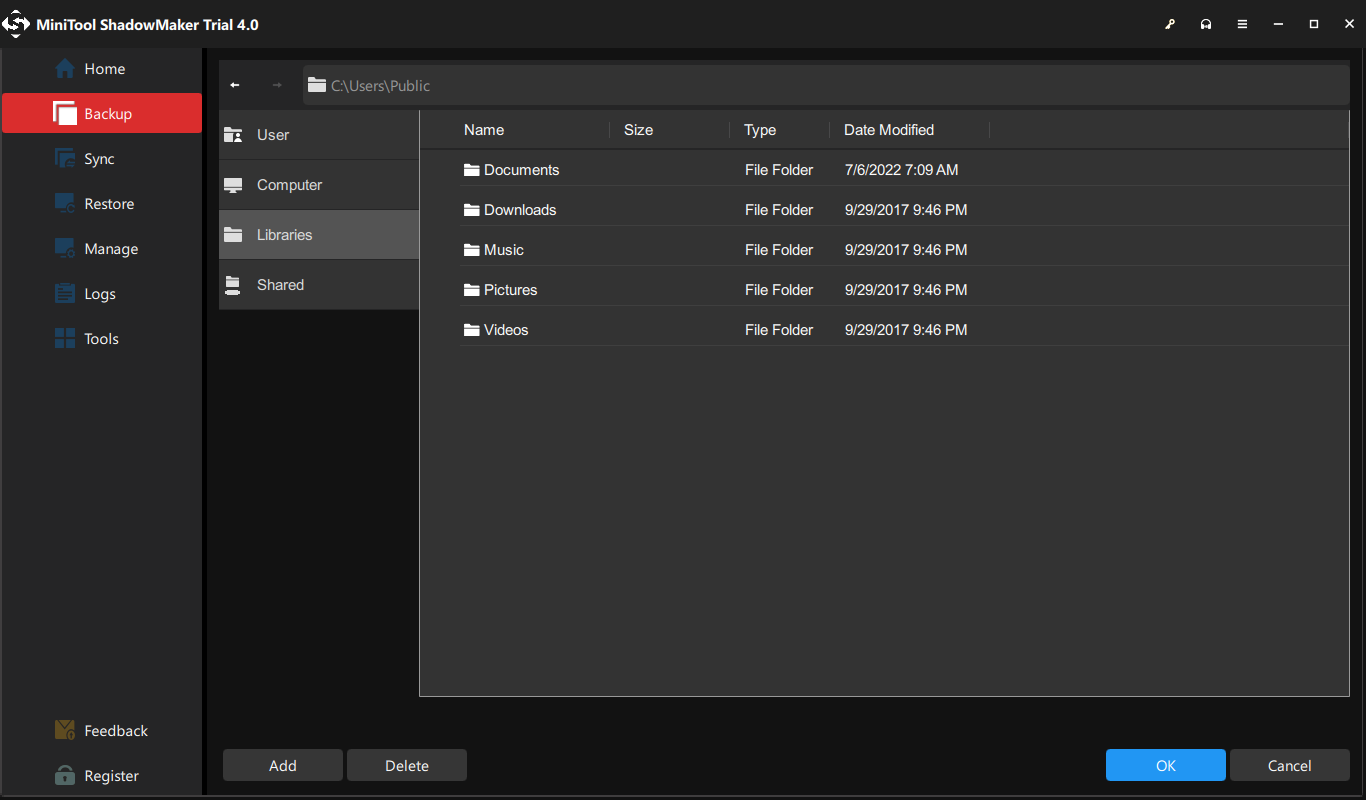
3. Libraries
Click the Libraries tab and folders in C:\User\Public will be listed. Choose one folder to store the backup image file. If you back up the system disk, it’s not recommended to choose Libraries as the destination since it belongs to the system drive.
4. Shared
Besides, you are allowed to back up your disk to the shared folder via an IP path or network path. First, you need to turn on the network discovery and file sharing and create the shared folder.
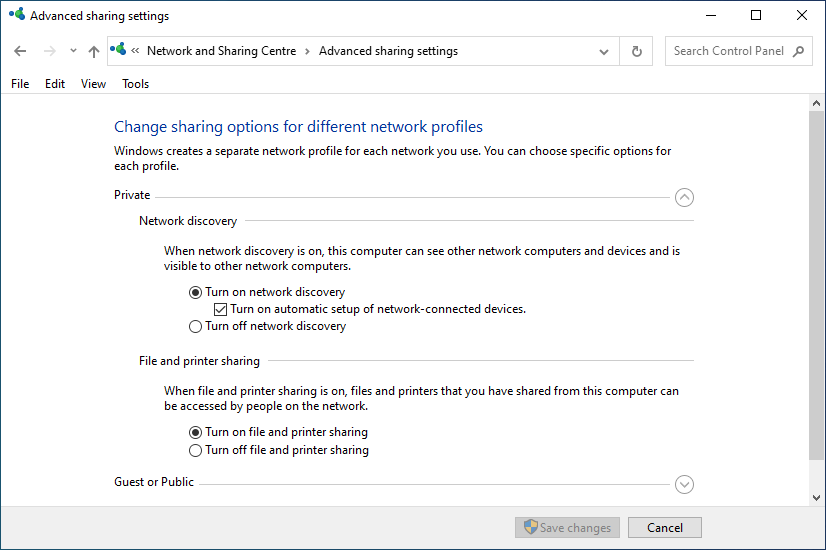
Turn on the network discovery and file sharing:
- Go to Control Panel > Network and Internet > Network and Sharing Centre > Advanced sharing settings.
- Turn on network discovery and file sharing under Private, Public, and All Networks.
Create the shared folder:
- Create a shared folder called LLL, and then create a subfolder called DDD. (Here, LLL and DDD are examples and you can change the folder name)
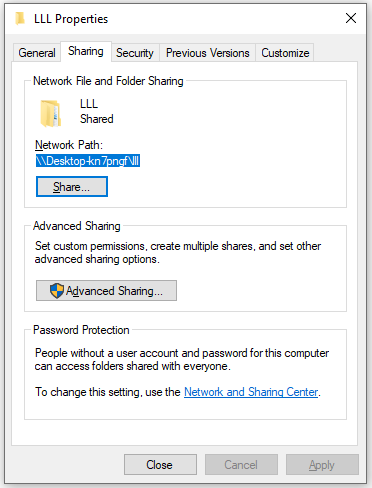
- Right-click the shared folder to choose Properties. Then, click the Sharing tab and click Share.
- Click the arrow to choose Everyone to share with and click Add. Choose Read/Write under Permission Level and click Share.
- Go to the Sharing tab again. Click Advanced Sharing… and check the Share this folder In the same window, click the Permissions button and check the Allow box next to the Full Control option.
- After creation, go back to the Sharing tab and note down the network path.
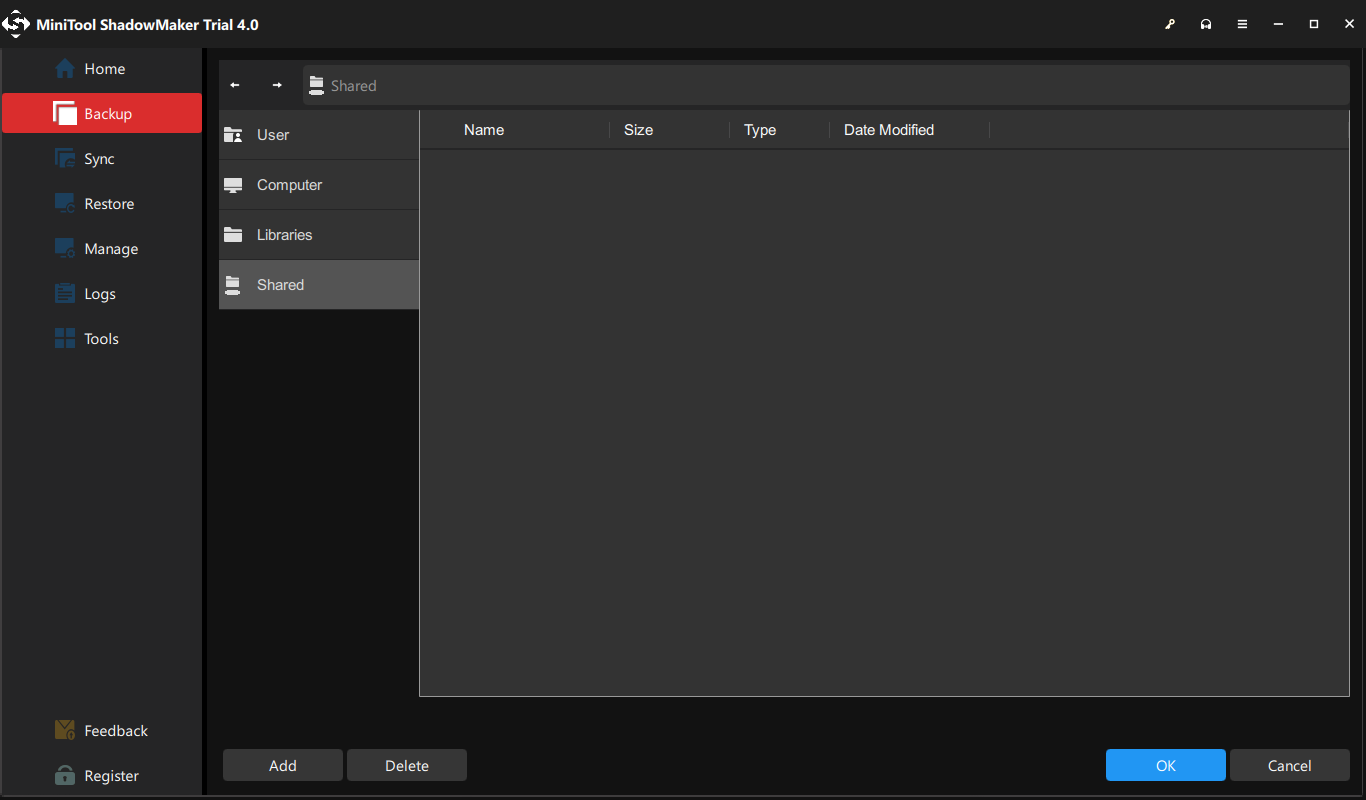
(1). Via IP path
Just go to the Shared tab. Click the Add button.
Type the IP path, user name, and password. Then, click OK.
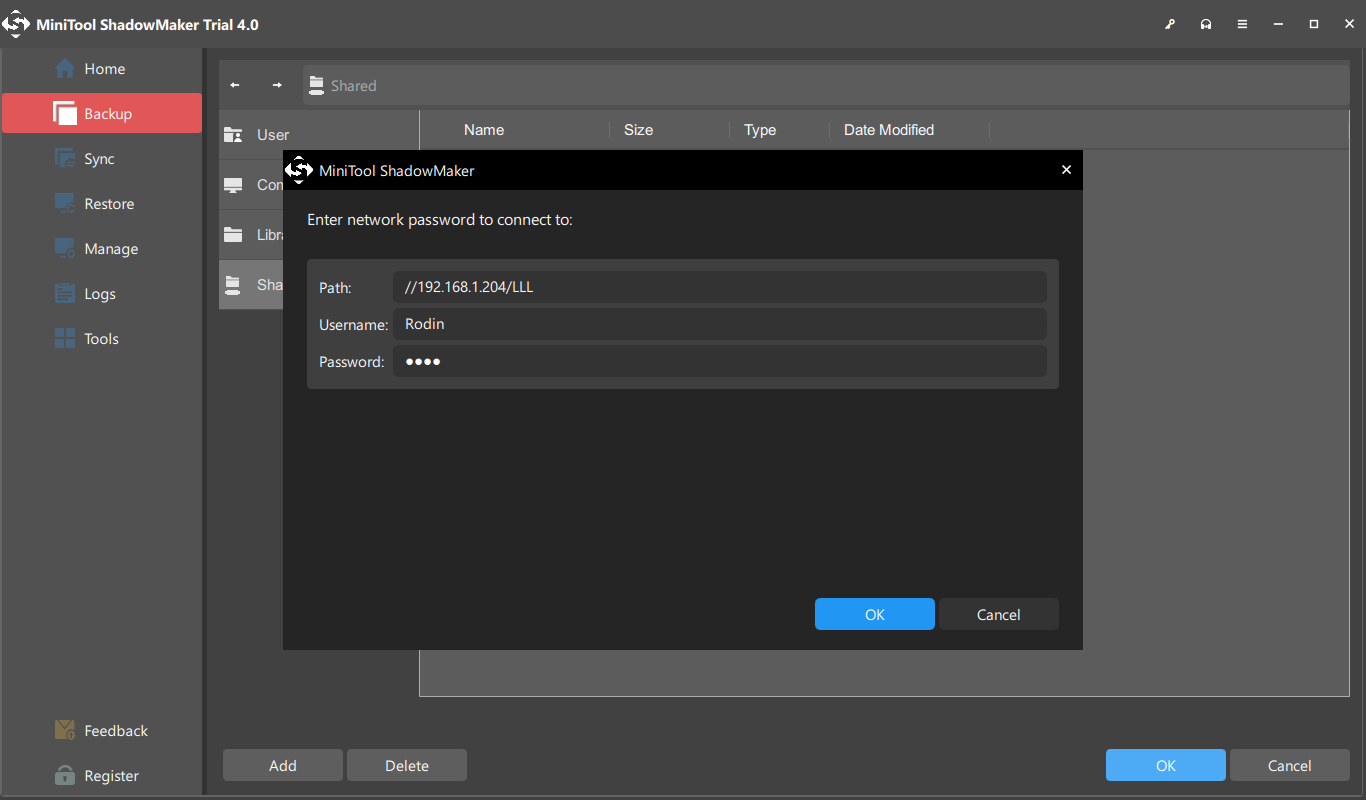
Open the shared folder (LLL) and choose the subfolder (DDD) as the destination.

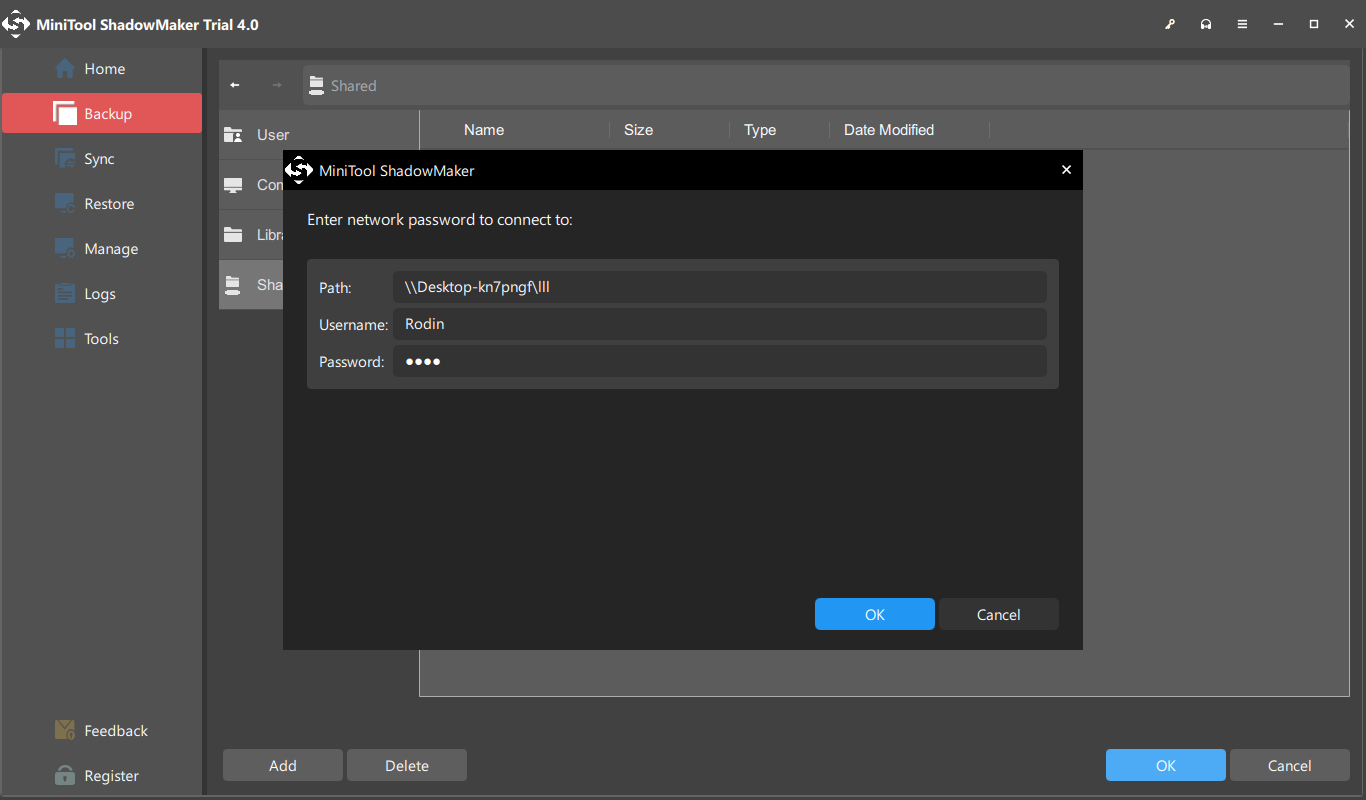
(2). Via Network Path
Type the network path, username, and password.
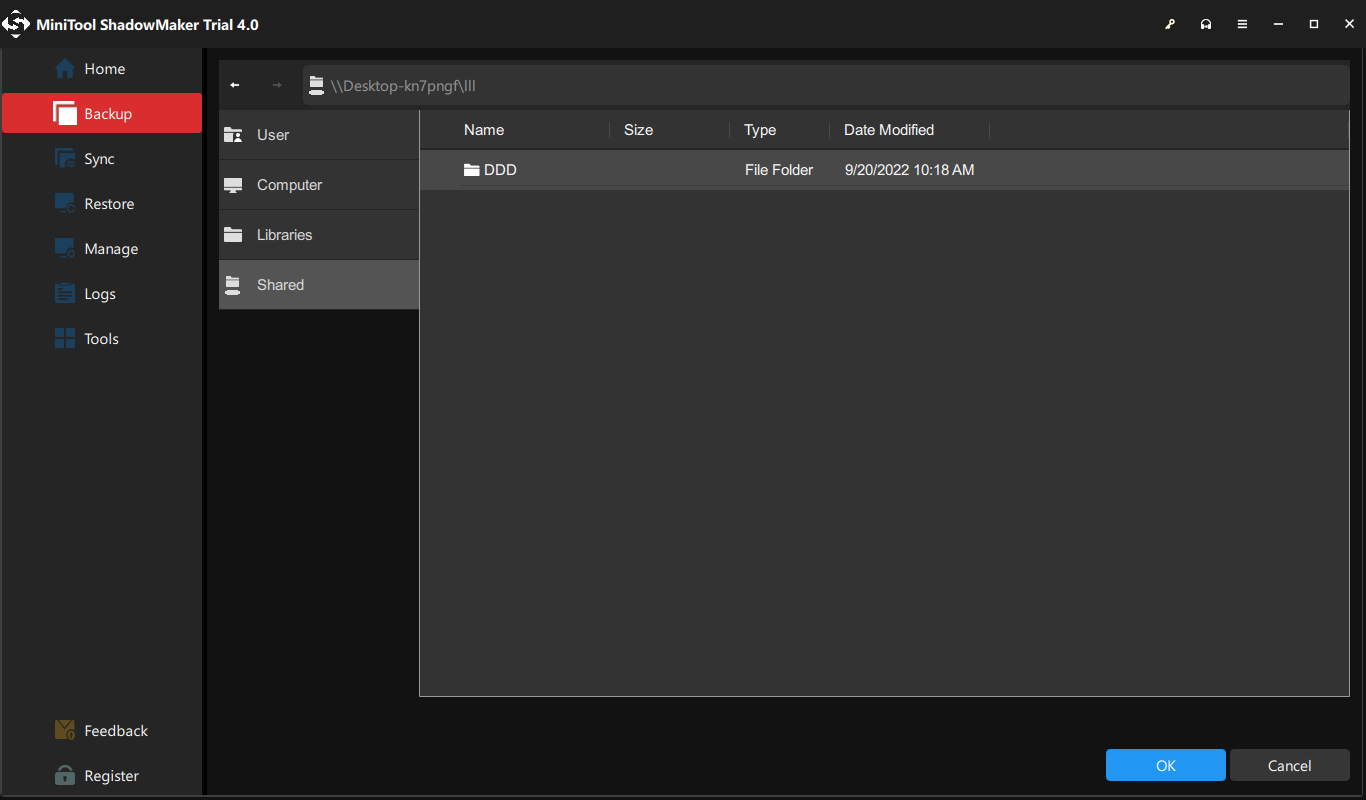
Open the shared folder (LLL) and choose the subfolder (DDD) as the destination.
Step 7. Click Back up Now to start the process or click Back up Later to delay the backup. And you can restart the delayed backup task in the Manage window.
Tips
- To customize the current backup task, go to Options > Backup options.
- To set up the backup type or manage disk space occupied by backup files, go to Options > Backup Scheme.
- To set a schedule to automatically back up the disk, go to Options > Schedule Settings.
To get more details, refer to Backup Settings.
About The Author

Position: Columnist
Having been an editor at MiniTool since graduating college as an English major, Daisy specializes in writing about data backups, disk cloning, and file syncing as well as general computer knowledge and issues. In her free time, Daisy enjoys running and going with friends to the amusement park.