Windows 11 Will Be Launched on October 5, 2021
Microsoft will launch Windows 11 on October 5, 2021. There will be many new features and improvements in this new version of Windows. For example, Windows 11 has a new UI (User Interface), taskbar, Start menu, context menu, Microsoft Store, and more. We believe that many users want to upgrade to Windows 11 no matter they are currently running Windows 7, Windows 8/8.1, or Windows 10.
Should I Upgrade to Windows 11 from Windows 7?
Microsoft has ended its support for Windows 7 on January 14, 2020. If you are still running Windows 7, your computer will no longer receive technical support for any issues, software updates, and security updates or fixes. The device will be at risk for viruses and malware. Due to this, the best way to stay secure is to upgrade to the latest Windows operating system.
Previously, Windows 10 is the only choice. But now, Windows 11 is around the corner. You will ask: should I upgrade Windows 7 to Windows 11?
It depends on the situation:
- Now all computers can get Windows 11. Microsoft has issued new system and hardware requirements for Windows 11. If your computer is eligible for Windows 11, you can choose to upgrade to Windows 11.
- However, if your device doesn’t meet the basic system and hardware requirements, you’d better upgrade Windows 7 to Windows 10 to keep your computer safe.
All in all, it is necessary to upgrade Windows 7 to a new Windows version. You can choose to upgrade to Windows 11 or Windows 10 according to your computer situation and your personal preferences.
Check Whether Your Computer Can Run Windows 11
We are not sure how many Windows 7 computers are eligible for Windows 11. You need to manually check whether your device can run Windows 11 if you decide to upgrade Windows 7 to Windows 11.
A Windows 11 eligible computer should have:
- A 1GHz or faster with 2 or more cores on a compatible 64-bit processor.
- A minimum of 4GB RAM.
- 64 GB or larger storage device.
- An embedded TPM version 2.0.
- DirectX 12 compatible graphics / WDDM 2.x.
- >9” with HD Resolution (720p) display.
Although in some cases, it is possible to install Windows 11 on an unsupported computer, it is not recommended to do this because the chances of computer black screen of death or other bugs & issues will be greatly increased.
Two Ways to Microsoft Windows 11 Upgrade from Windows 7
Can I upgrade Windows 7 to Windows 11 for free? This should be a concern for many users.
Upgrading Windows 7 to Windows 11 is not as easy as upgrading Windows 10 to Windows 11 because it is not just a Windows 11 upgrade via Windows Update. Besides, according to the official statement from Microsoft, Windows 11 upgrade is only free for Windows 10 users. However, in theory, Windows 7, Windows 8, and Windows 8.1 users will also get the update for free if they upgrade to Windows 10.
However, some users prefer to directly upgrade to Windows 11 from Windows 7. Is it possible to do this for free? Of course, yes. There are two direct paths:
- Clean install Windows 11 on your computer.
- Migrate Windows 11 to your Windows 7 computer
In this part, we will introduce them in detail with pictures. FYI: if you want to free upgrade your Windows 8/8.1 to Windows 11, you can also try these two methods.
Method 1: Clean Install Windows 11 on Your Computer
Cleaning install Windows 11 is just like installing a new copy of the Windows operating system on your computer. Windows 7 will be replaced. All files, settings, and apps will be removed from your computer. That’s, you can start fresh with Windows 11 installed.
Step 1: Back up your data on Windows 7
Since a Windows 11 clean install will remove all contents from your computer, you need to back up your data to an external hard drive in advance. After that, you can perform a Windows 11 clean install without data loss.
Step 2: Create a Windows 11 installation drive
You need to create a Windows 11 installation drive and boot your computer from that drive to perform a Windows 11 clean install.
Well then, how to create a Windows 11 installation drive?
Choice 1: Before the official release of Windows 11
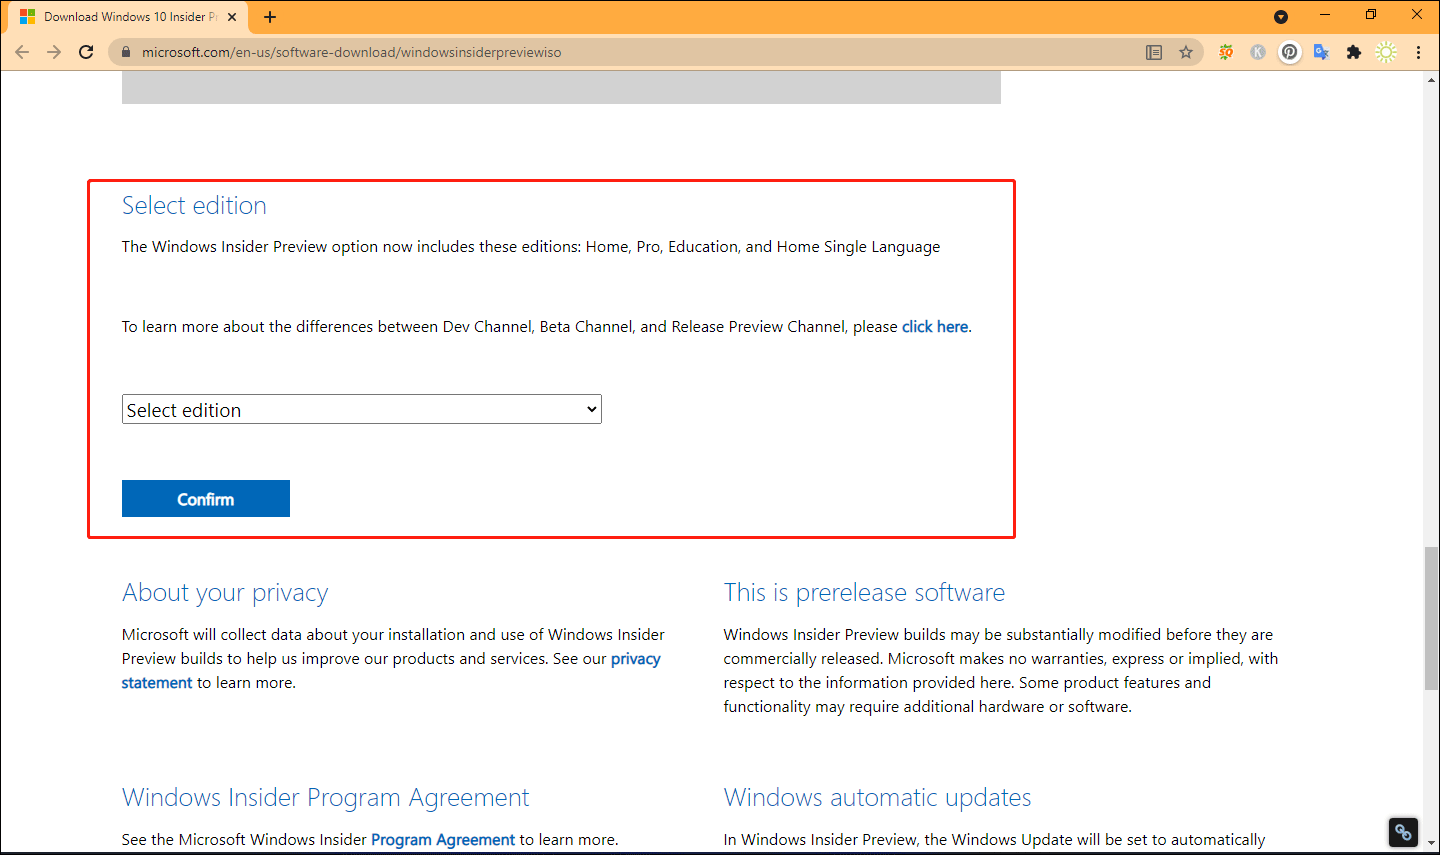
Currently, Windows 11 has not been officially released to the public. But Microsoft has rolled out the Windows 11 Insider preview ISO files to Insiders. You can make use of that ISO file to create a Windows 11 installation drive. Via the Windows 11 ISO file, you can install Windows 11 Home, Windows 11 Education, and Windows 11 Pro on your device.
- Go to the Windows Insider Preview Downloads page and scroll down to the bottom to select a proper edition of the ISO file to download.
- Connect a USB drive to your computer.
- Use a special tool like Rufus to burn the ISO file to a USB drive to create a Windows 11 installation drive.
Choice 2: After the official release of Windows 11
There should be a Windows 11 21H2 Media Creation Tool after Microsoft rolls out Windows 11 to all eligible computers on October 5, 2021. At that time, you can use the Media Creation Tool to create a Windows 11 USB installation drive.
- Go to Windows 11 software download page to download the Windows 11 21H2 Media Creation Tool on your computer.
- Connect the USB drive to your PC.
- Double-click the downloaded MediaCreationTool to open it.
- Follow the on-screen wizards to create a Windows 11 installation media.
Now, the Windows 11 installation media is prepared.
Step 3: Clean install Windows 11 on your computer
Now, it’s time to perform a Windows 11 clean install. This will directly install Windows 11 on your computer.
1. Close your Windows 7 computer.
2. Connect the Windows 11 installation media to your device.
3. Boot your computer into BIOS and set it to start from the connected USB drive.
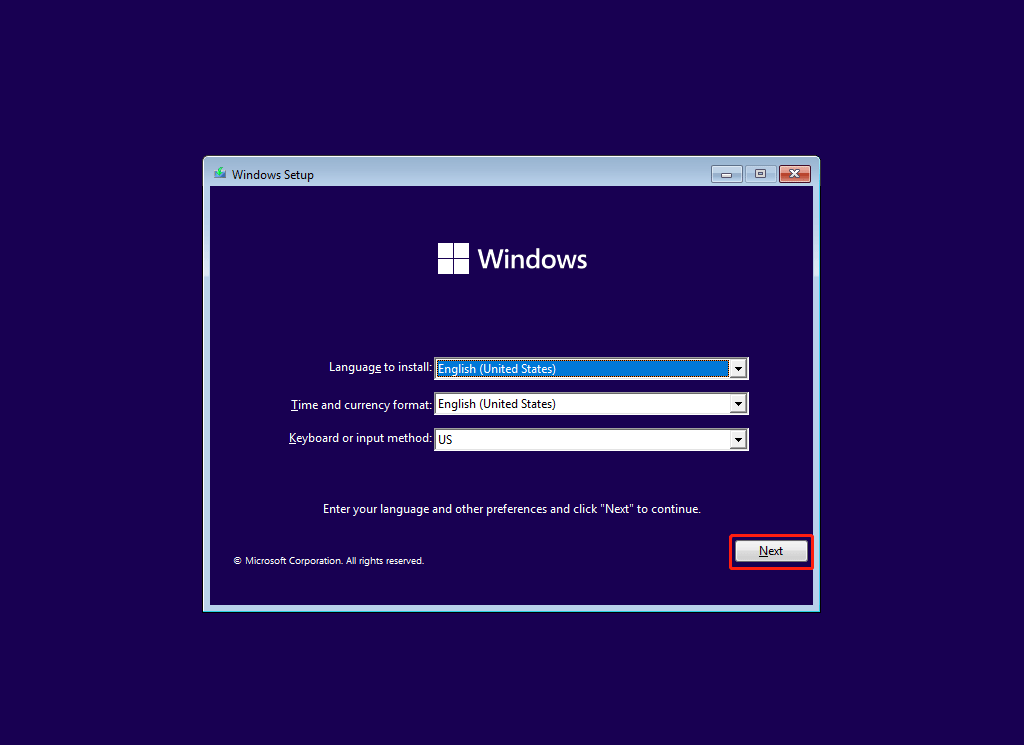
4. Your computer will boot into the following Windows Setup interface. Click Next to continue.
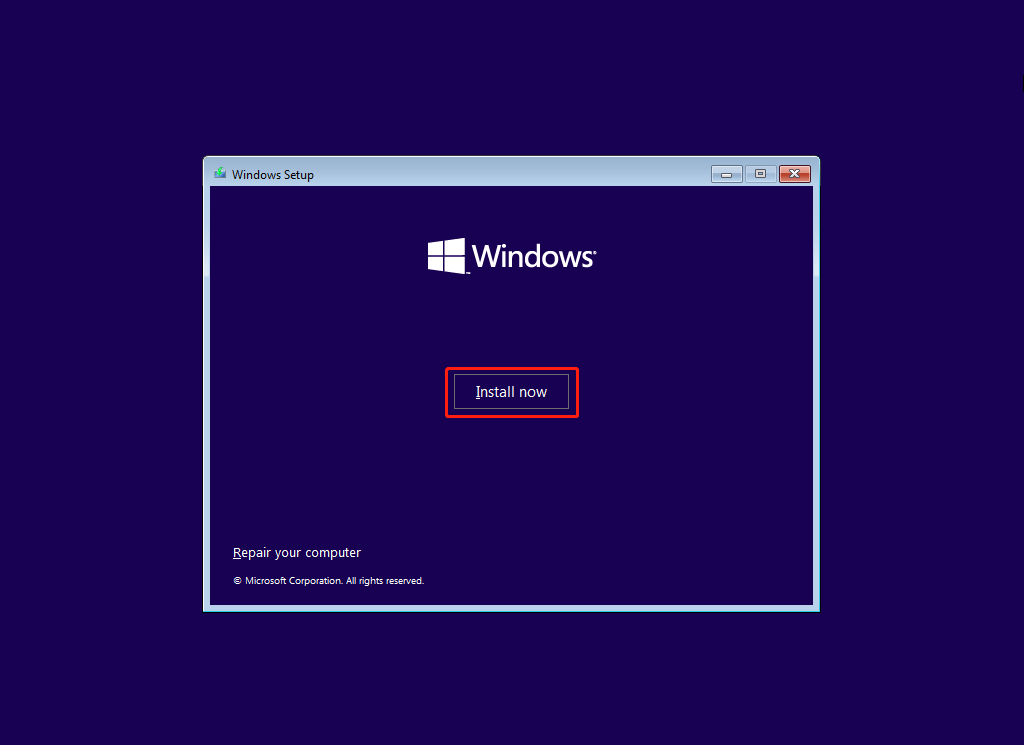
5. Click Install now.
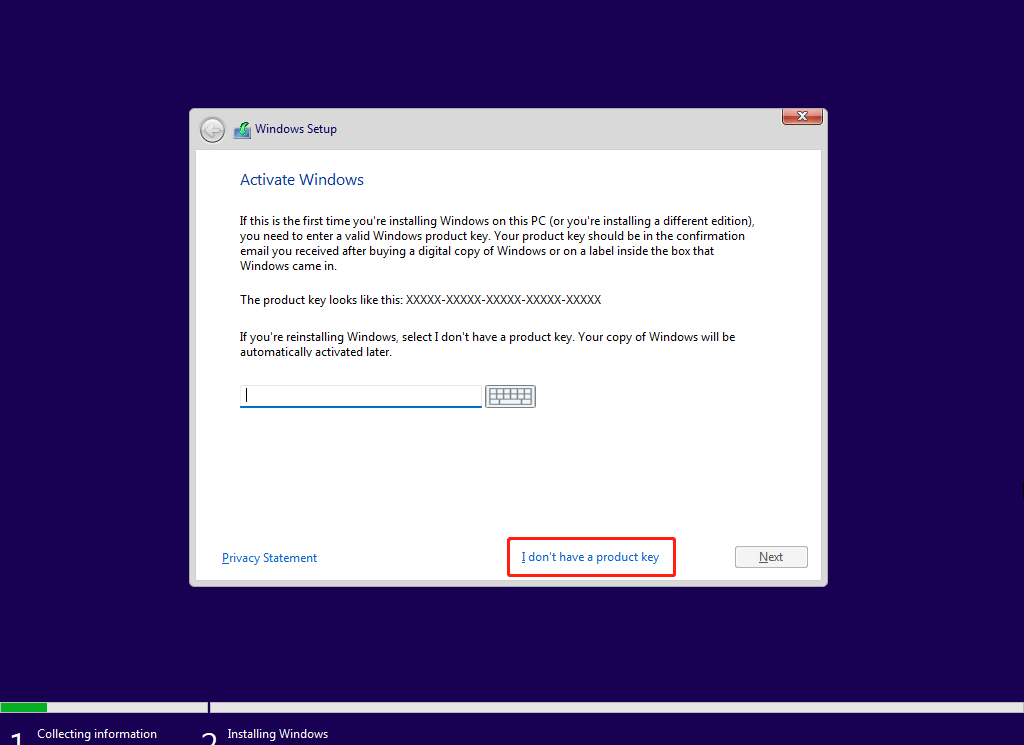
6. Click I don’t have a product key. Of course, if you have a product key for Windows 11 (you can only get it after the release of Windows 11), you can also input it in this step and click Next to continue.
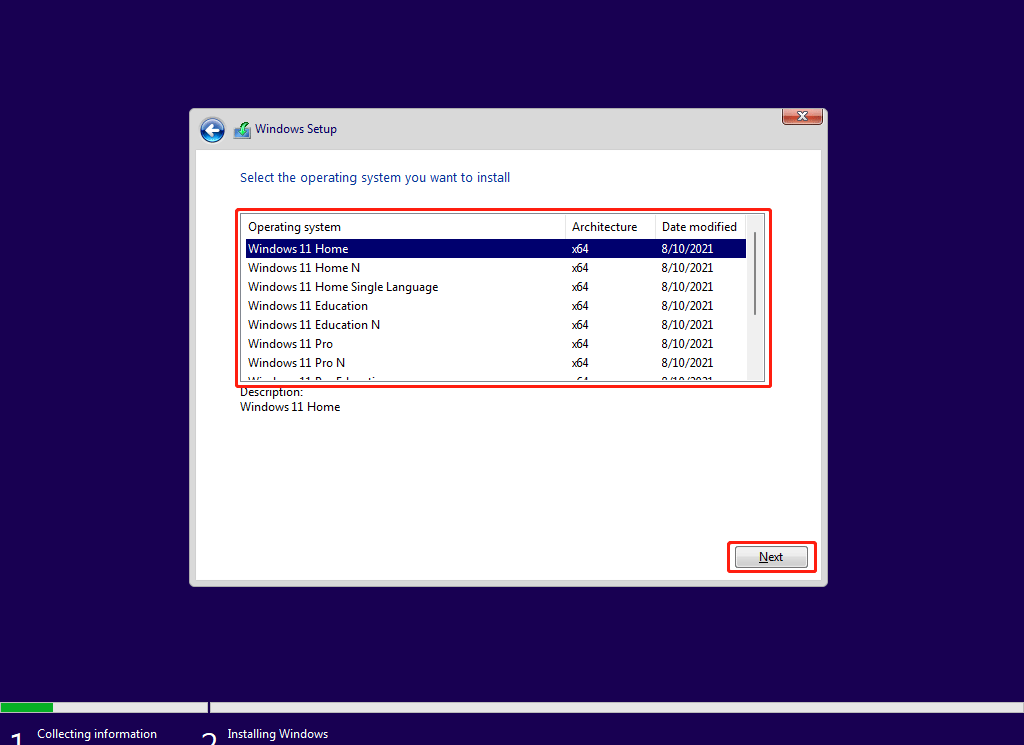
7. Select the operating system (like Windows 11 Home, Windows 11 Education, or Windows 11 Pro) you want to install.
8. Click Next.
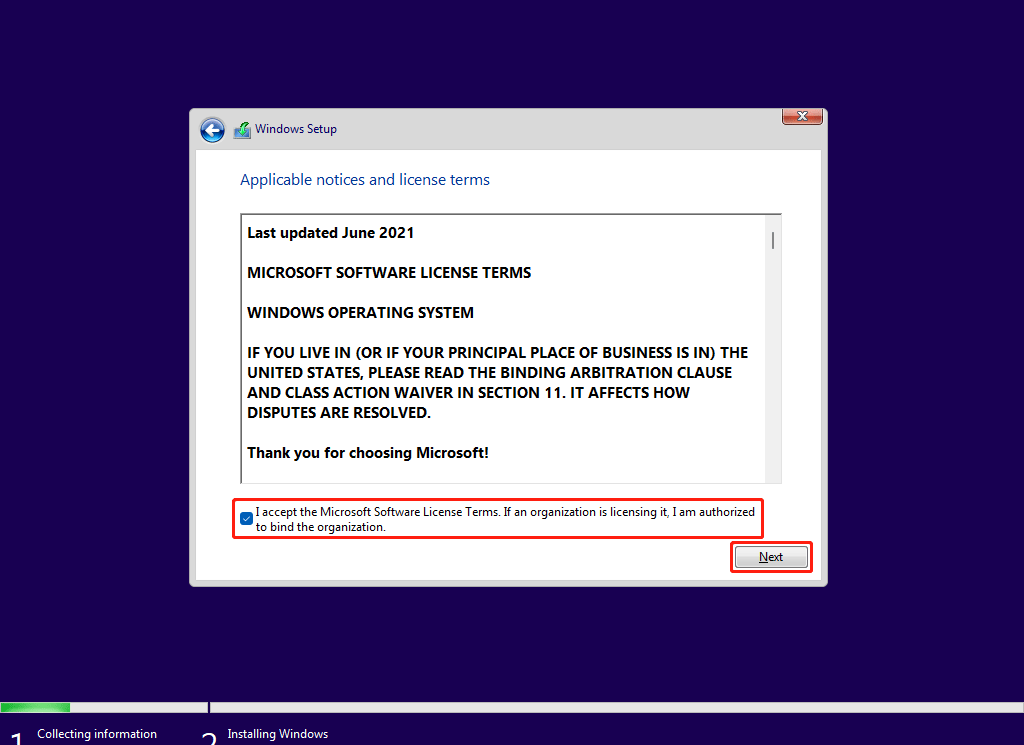
9. Select I accept the Microsoft Software License Terms.
10. Click Next.
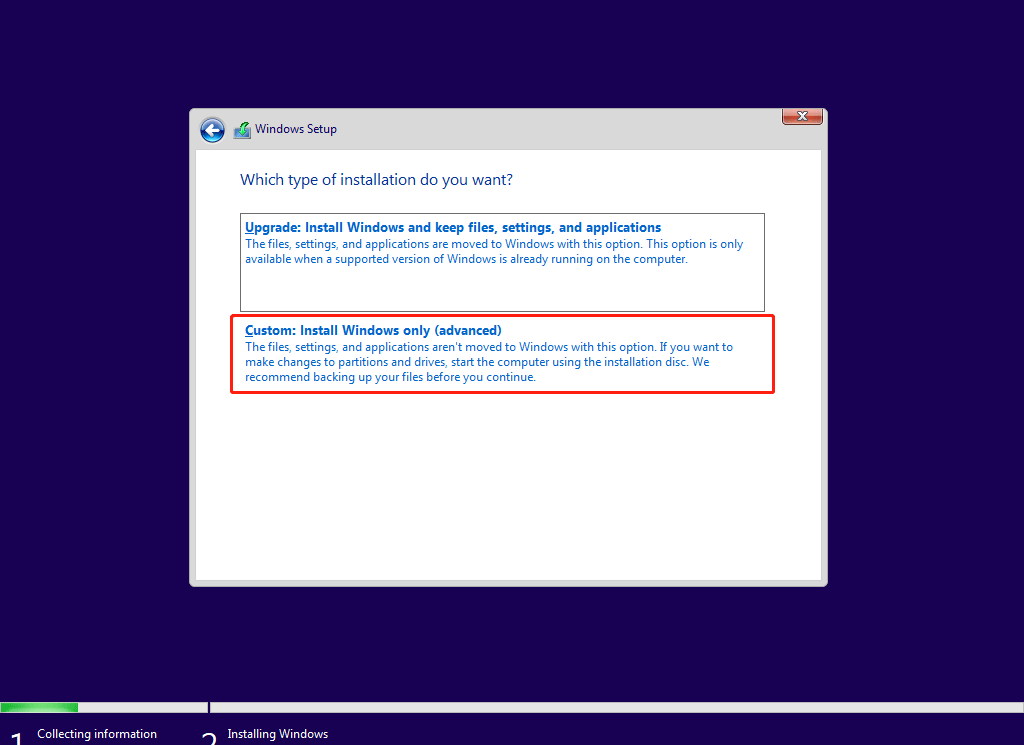
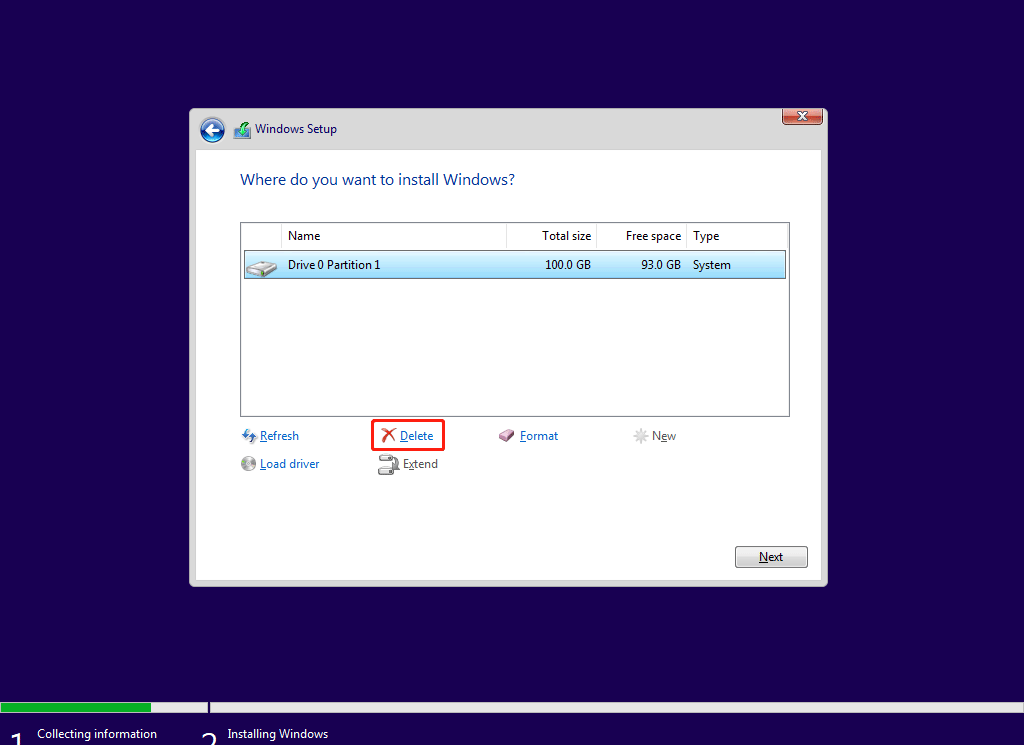
11. Click Custom: Install Windows only (advanced).
12. Select the drive you want to install Windows 11. Usually, it is the system partition in Drive 0. In this case, it is Drive 0 Partition 1.
13. Click Delete.
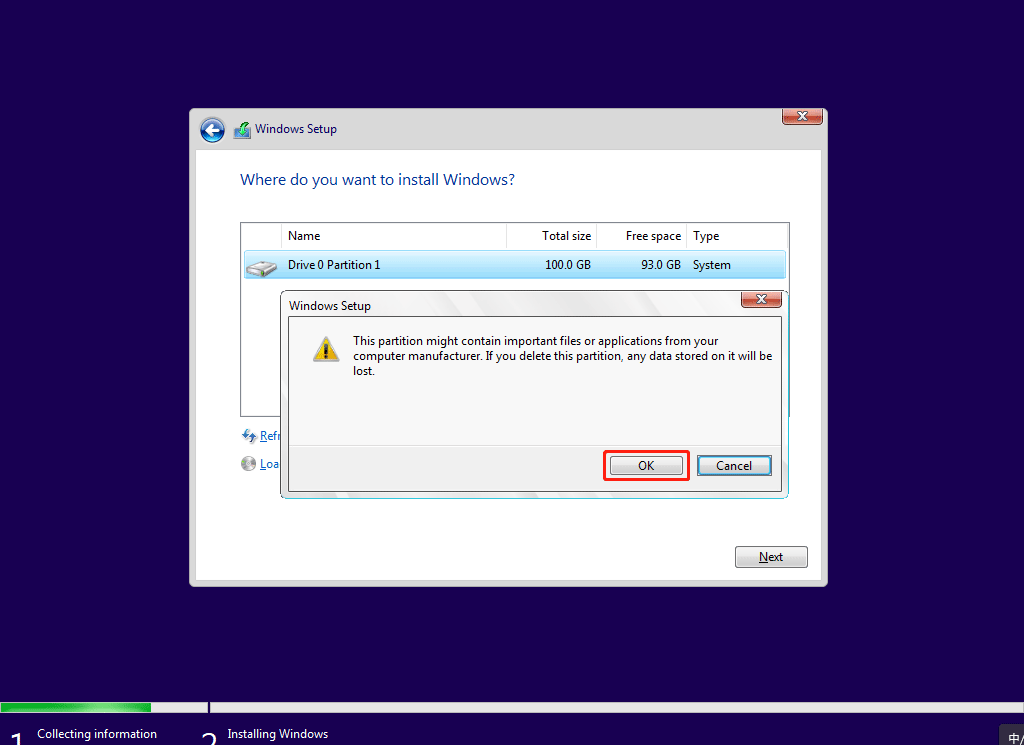
14. Click OK on the pop-up windows to confirm the operation.
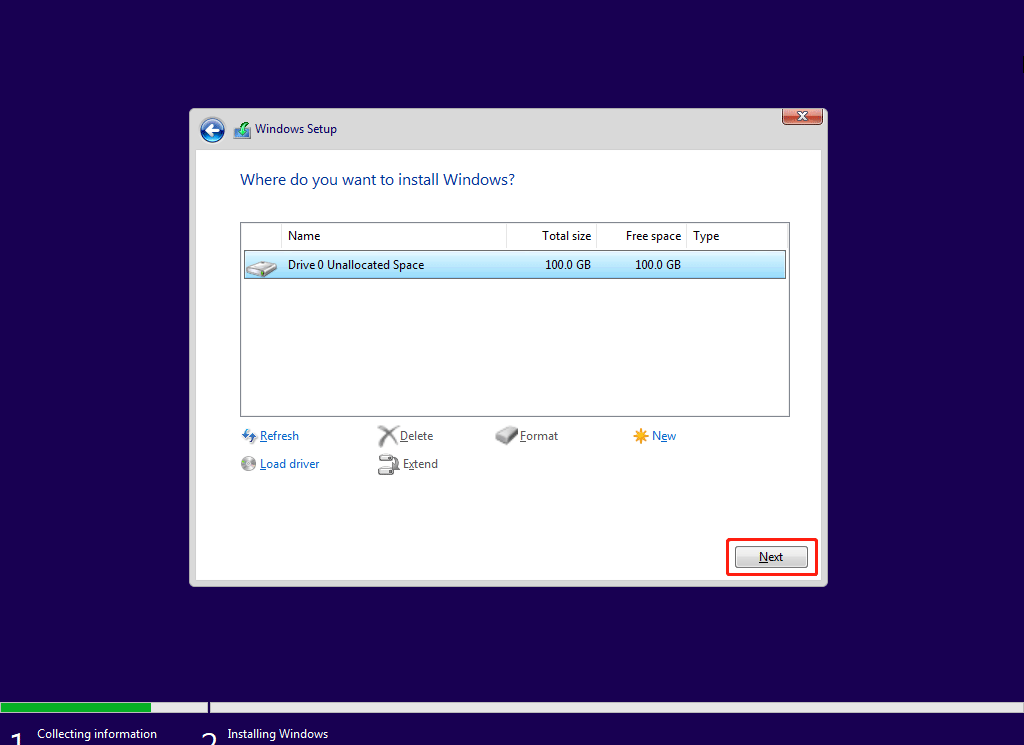
15. The deleted drive will be shown as Unallocated Space. It is ready for installing a new operating system. Select it again and click Next.
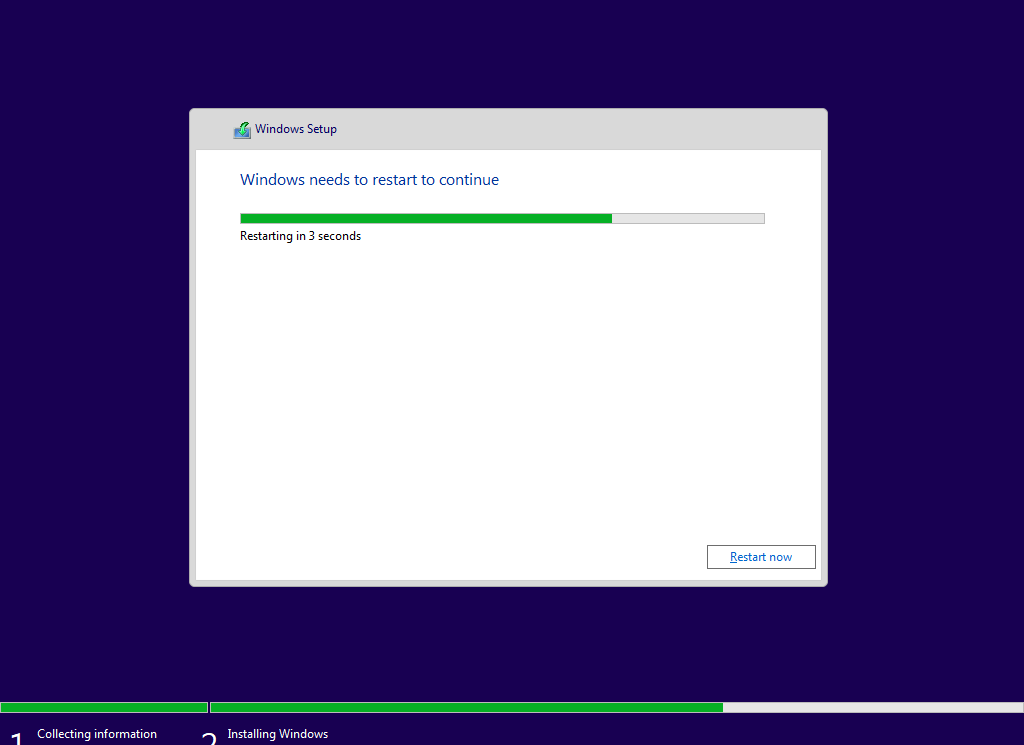
16. The Windows 11 installing process starts. You should wait until it ends.
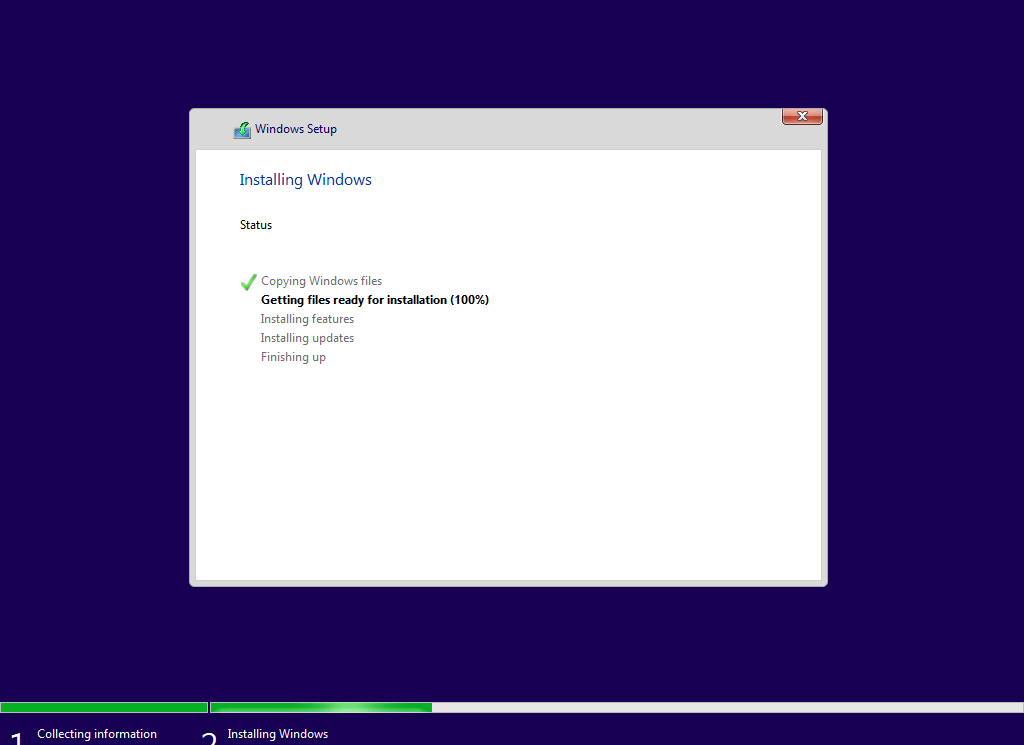
17. After Windows 11 installation, your computer will restart.
Step 4: Continue Windows 11 Out-of-Box Experience
In this step, you need to complete your settings.
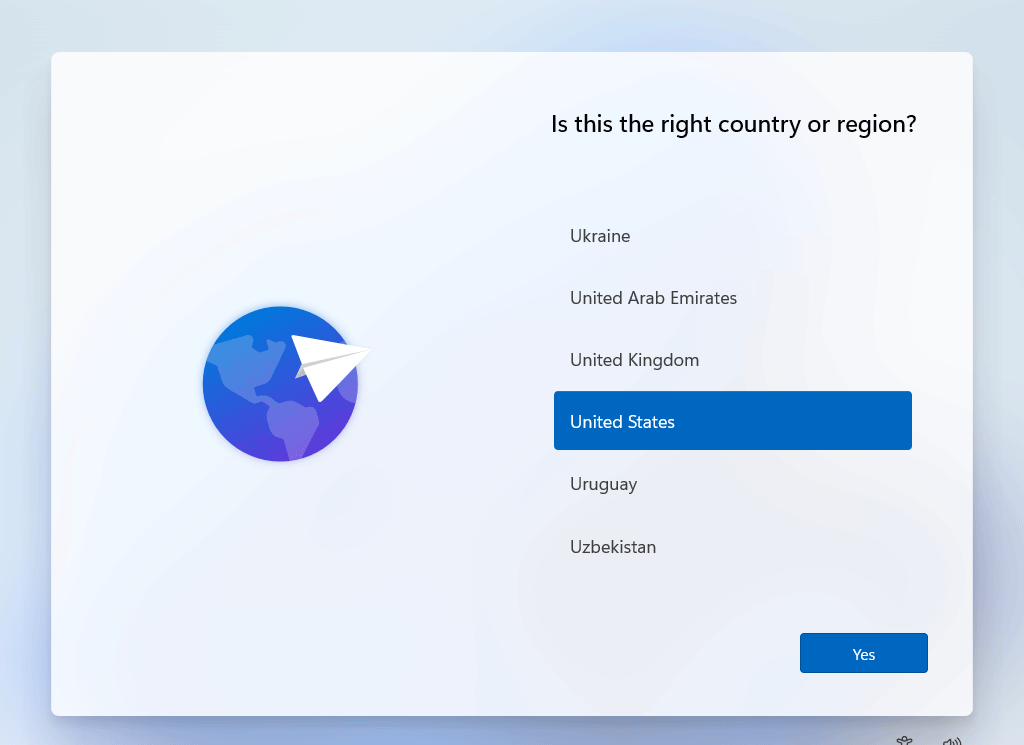
1. Select your country or region.
2. Click Yes.
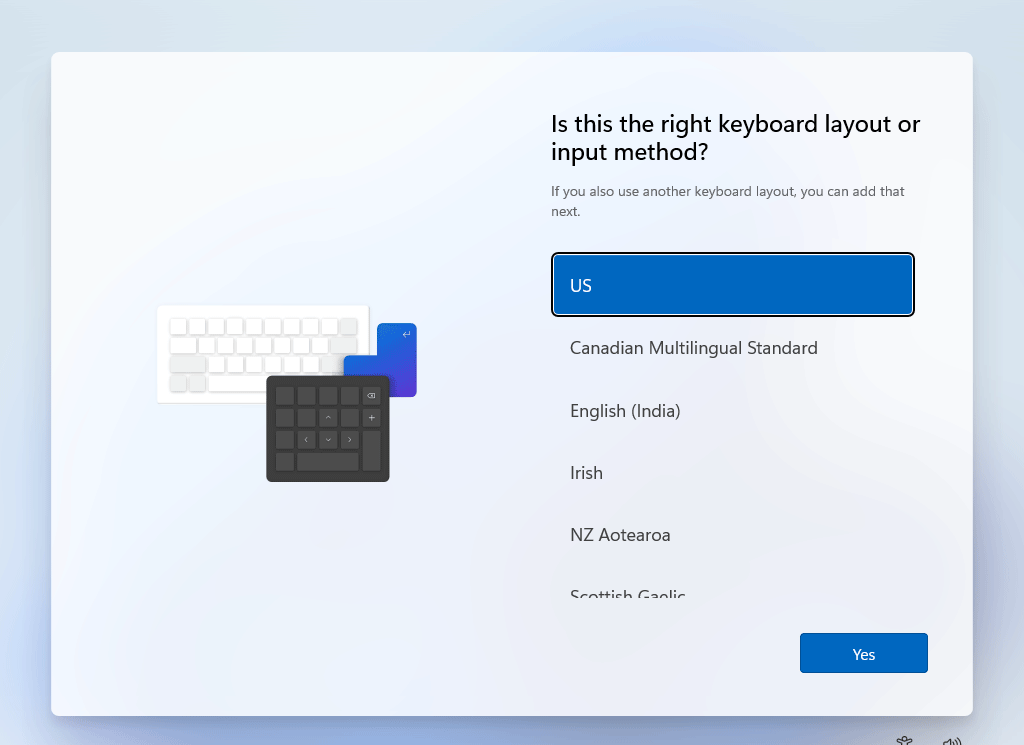
3. Select the keyboard layout or input method.
4. Click Yes.
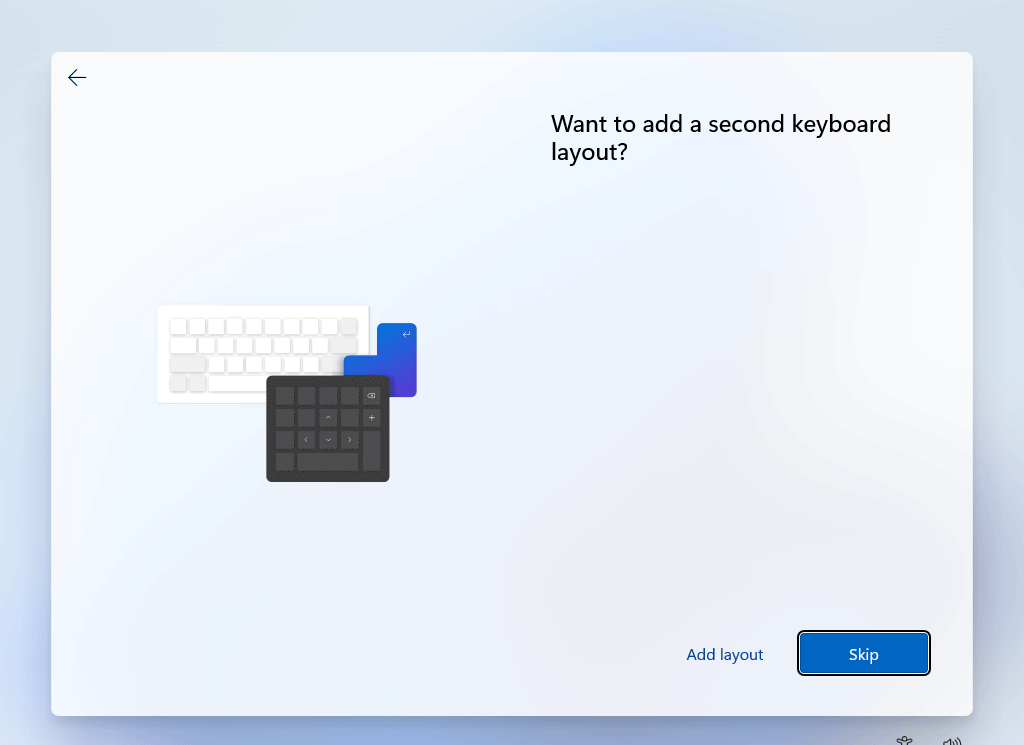
5. If you need to add a second keyboard layout, click Add layout to continue. If not, click Skip.
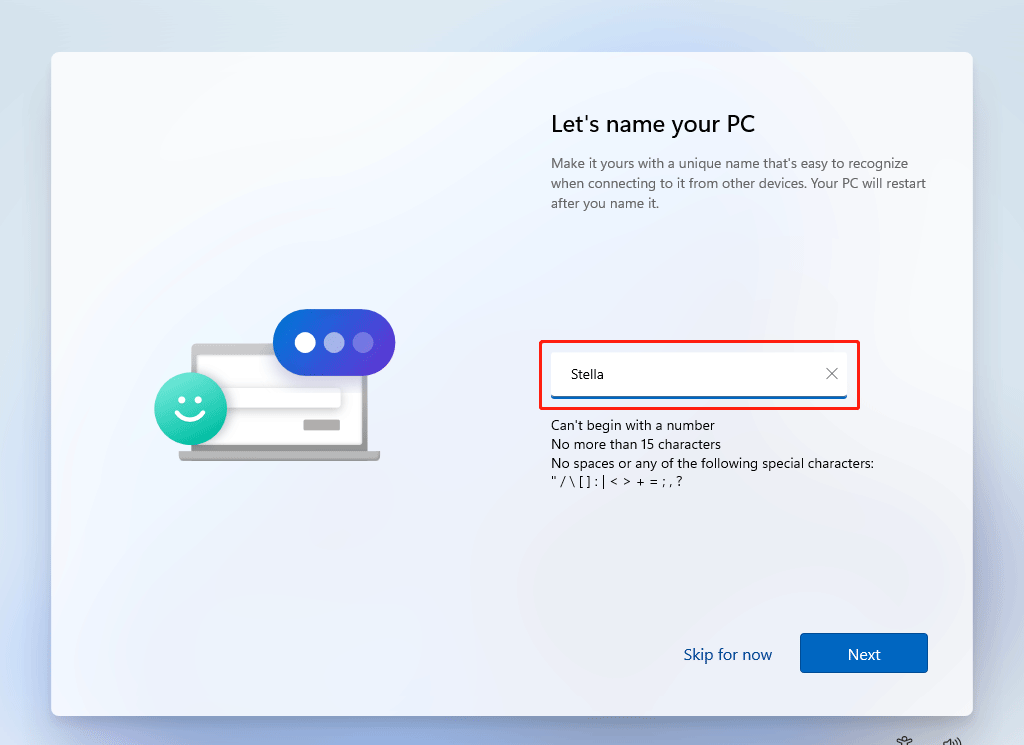
6. Name your computer (optional).
7. Click Next.
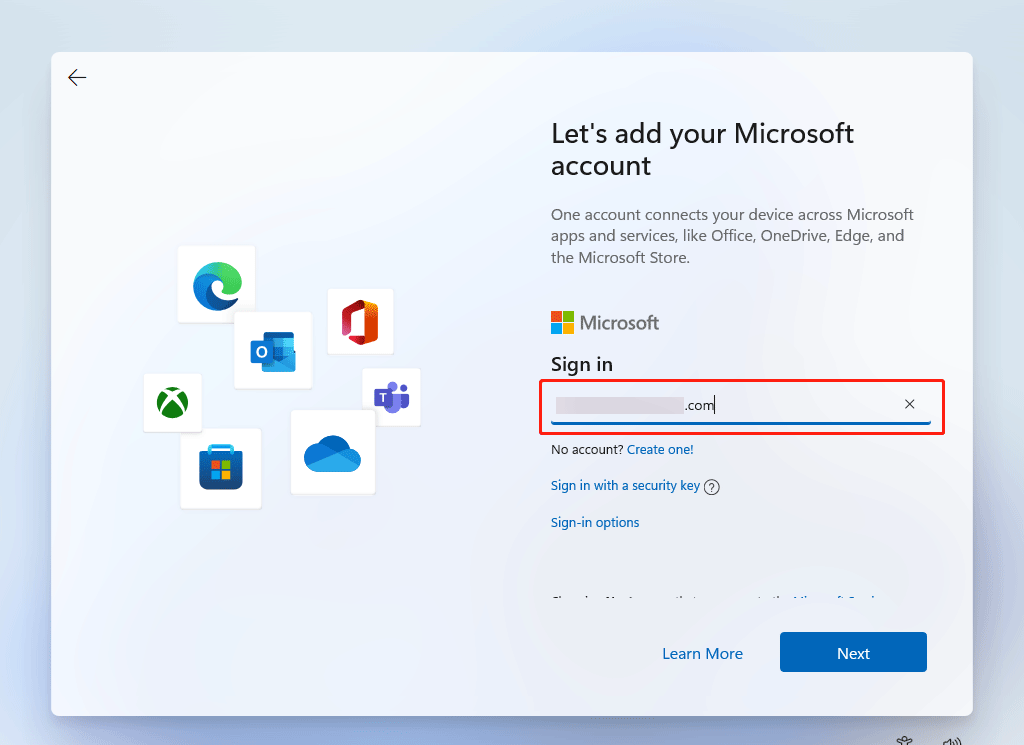
8. Input your Microsoft account.
9. Click Next.
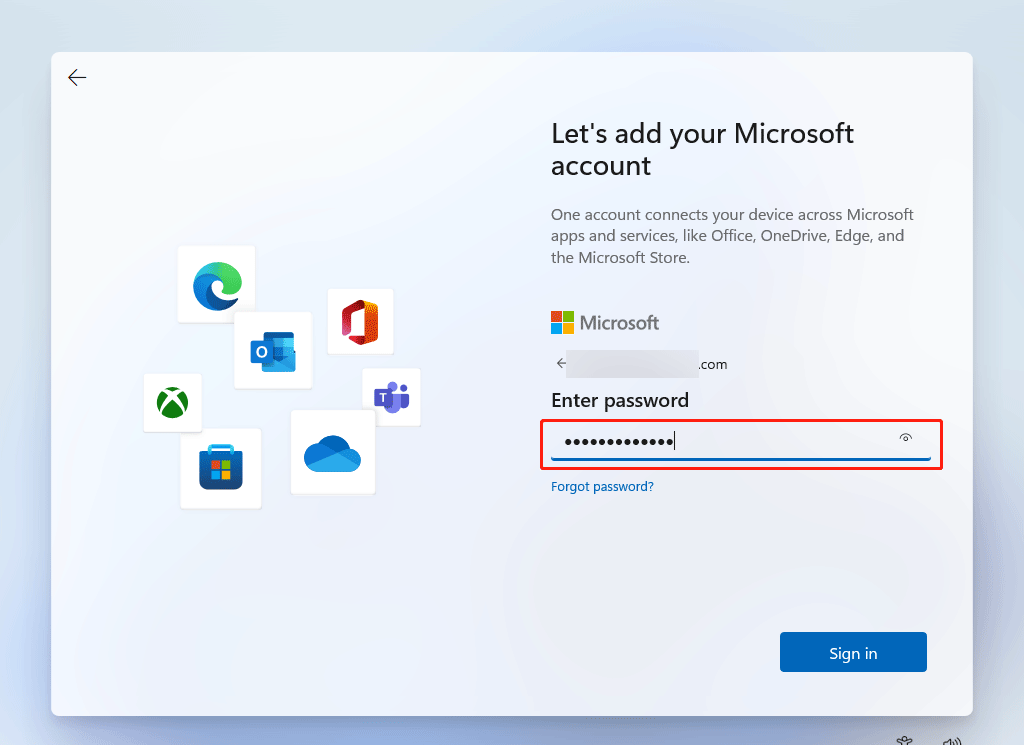
10. Input the password.
11. Click Sign in.
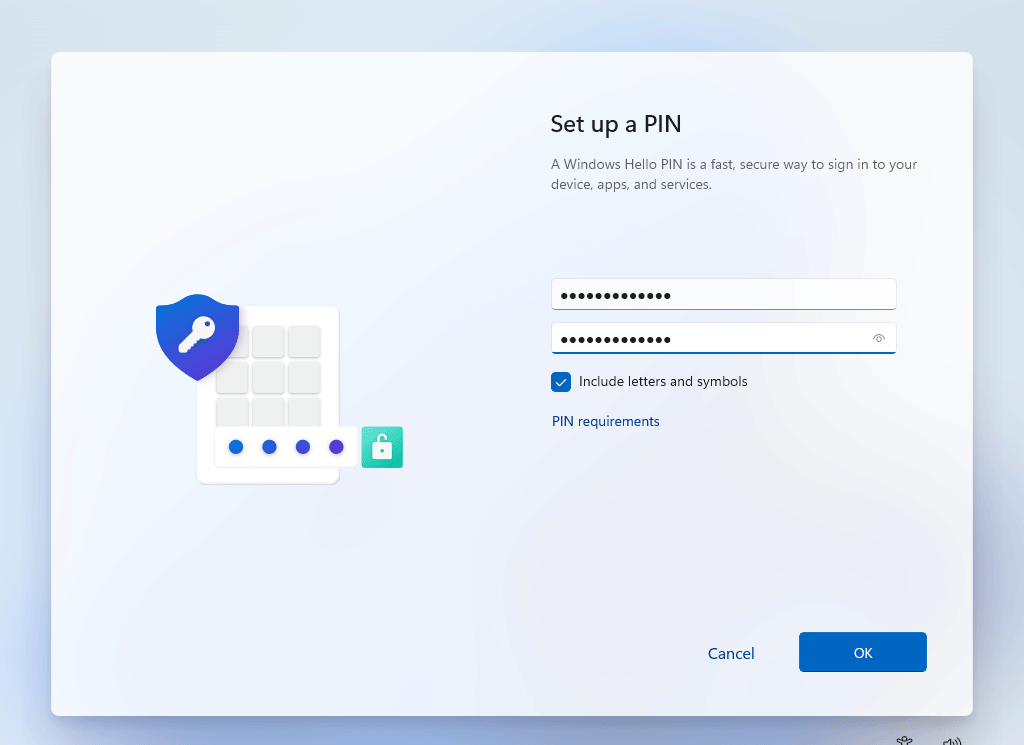
12. Click Create PIN.
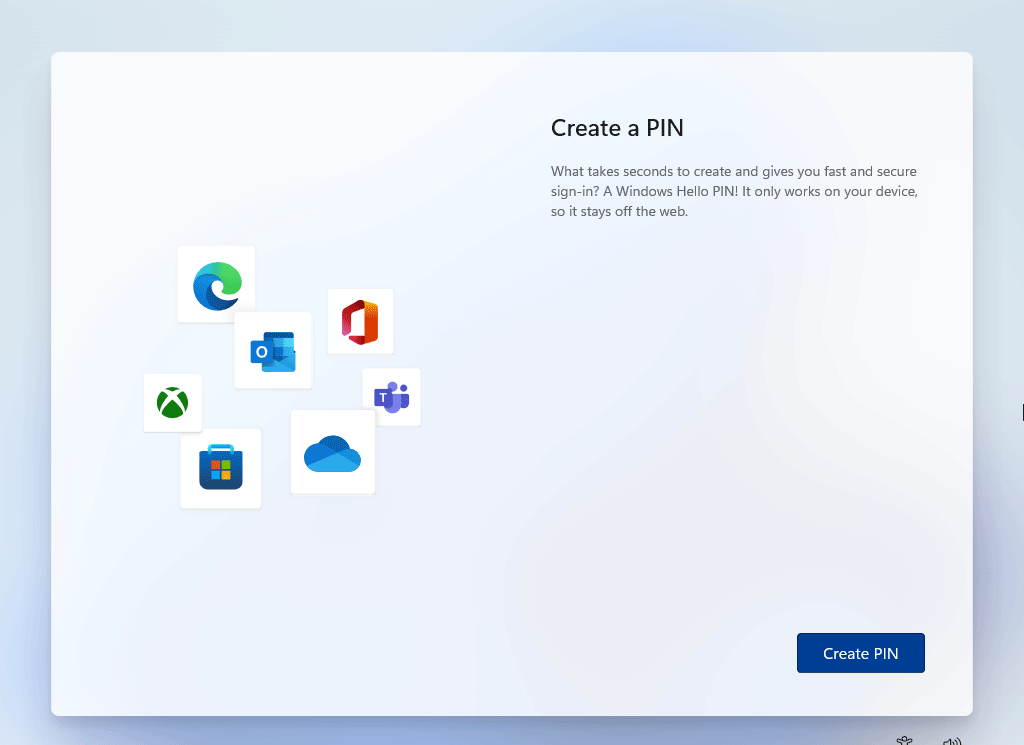
13. Set up a PIN.
14. Click OK.
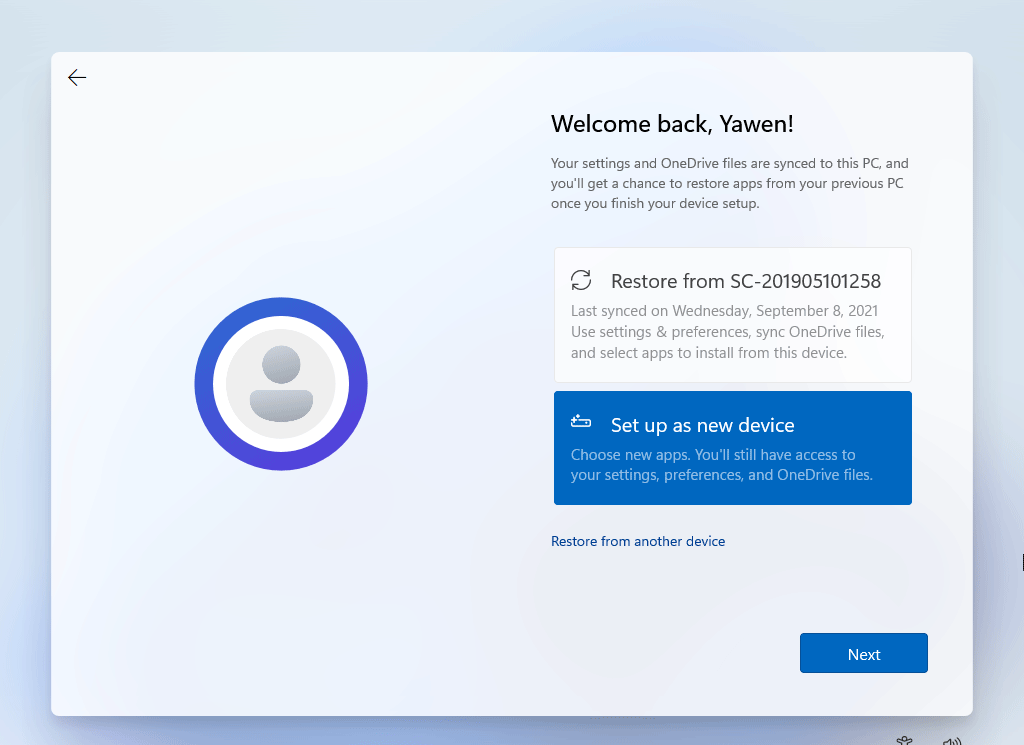
15. Select Restore from [another device] (it is the device that you have signed into with your Microsft account) or Set up as new device.
16. Click Next.
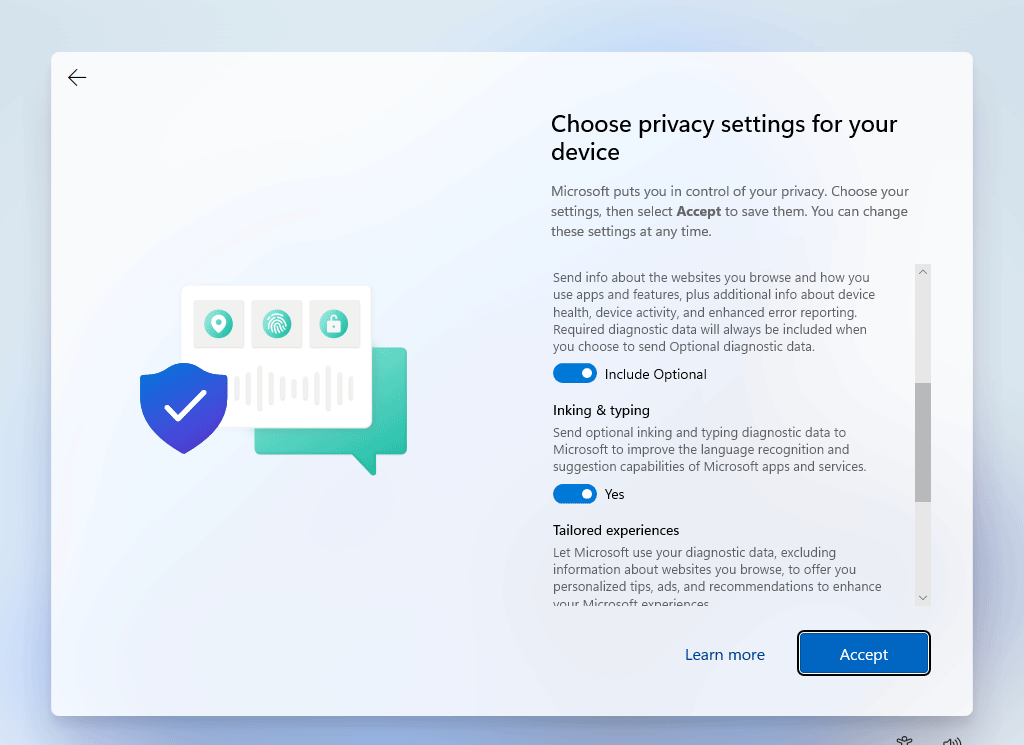
17. Select the privacy settings.
18. Click Accept.
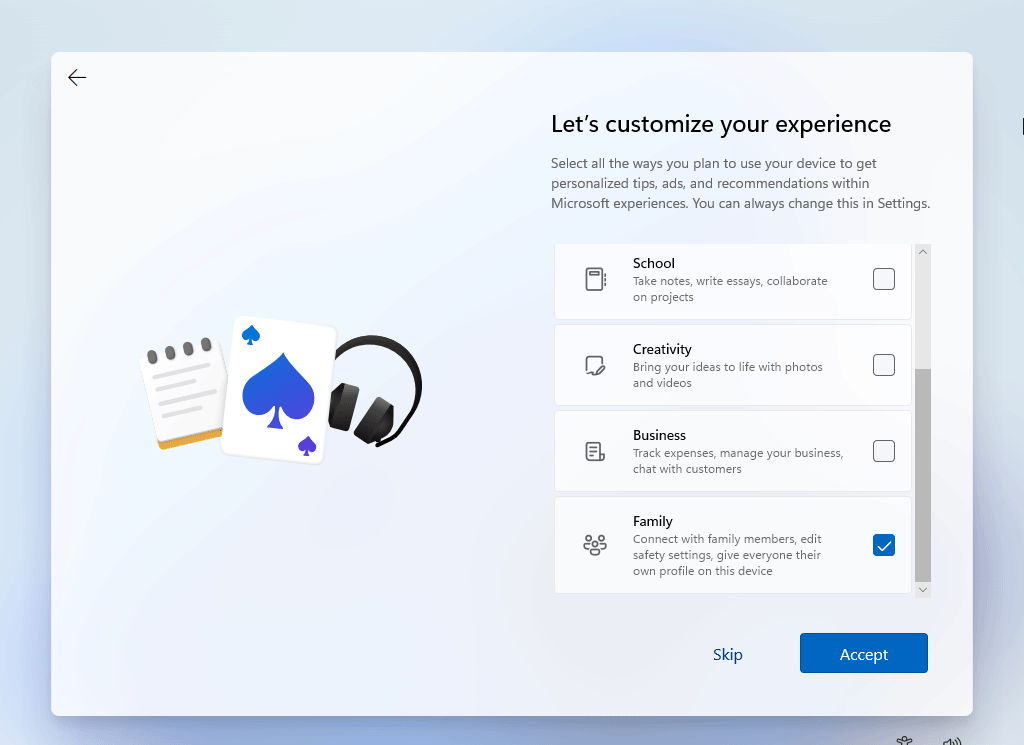
19. Select your preferred experience.
20. Click Accept.
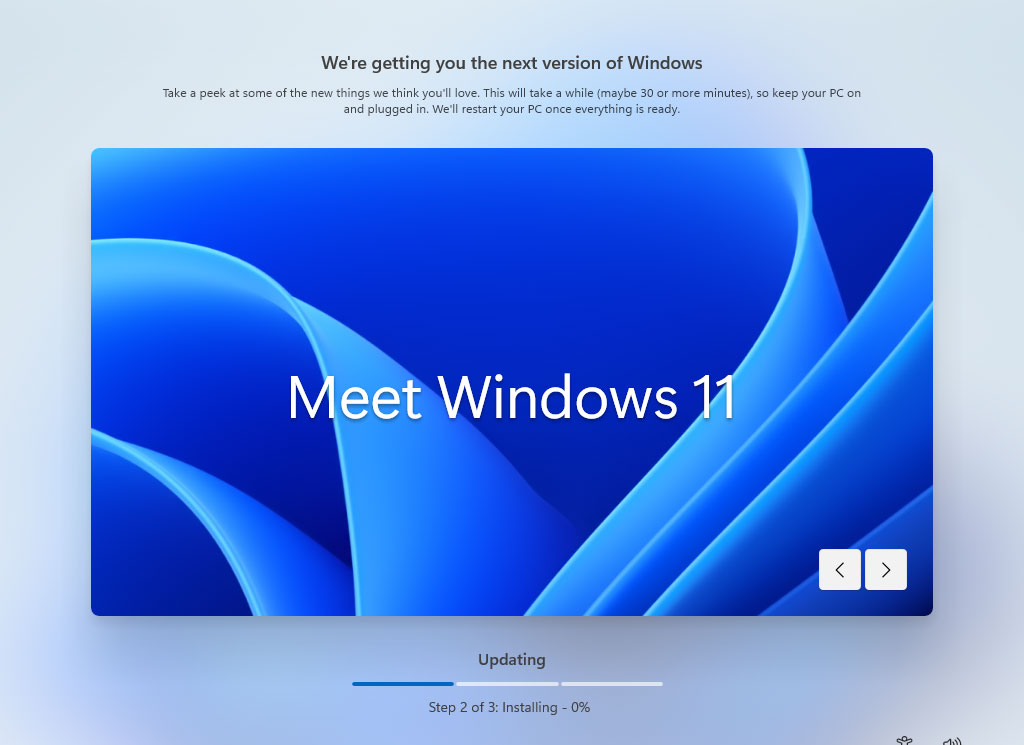
21. Windows 11 installing and updating process starts. It may last for 30 minutes or more minutes. During the process, you should keep your device on and plugged in.
22. When the above process ends, your PC restarts.
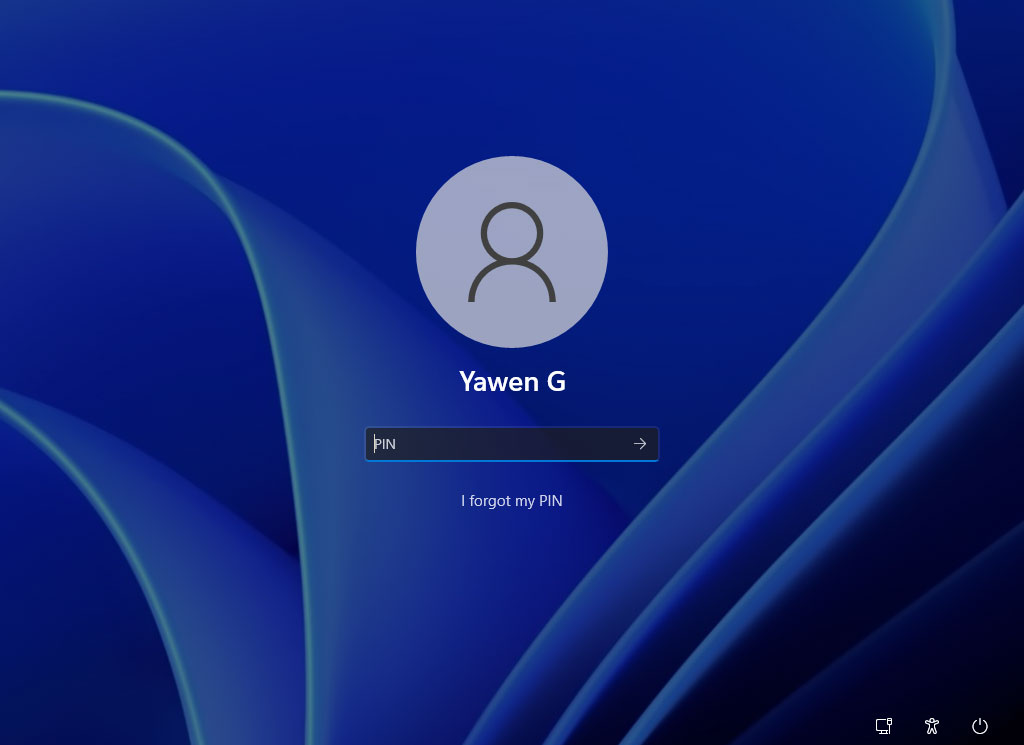
23. After the computer restart, you will see the following screen, in which you need to input the PIN you have set up during the Windows clean install process.
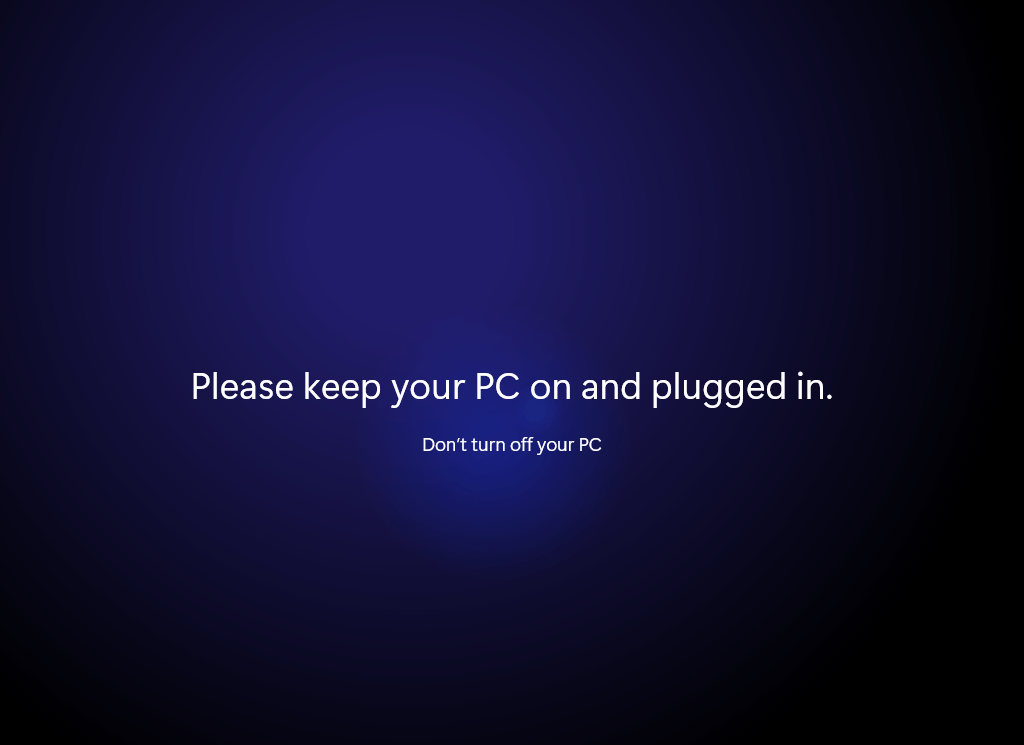
24. Windows 11 installation continues with some further operations. After that, you can see the Windows 11 desktop.
Step 5: Complete the setup after Windows 11 clean install
As mentioned above, all your files, settings, and apps are removed after cleaning install Windows 11 on your computer. So, after you boot into Windows 11, you still do some setup to make the device work for you.
Here are the necessary things you should do:
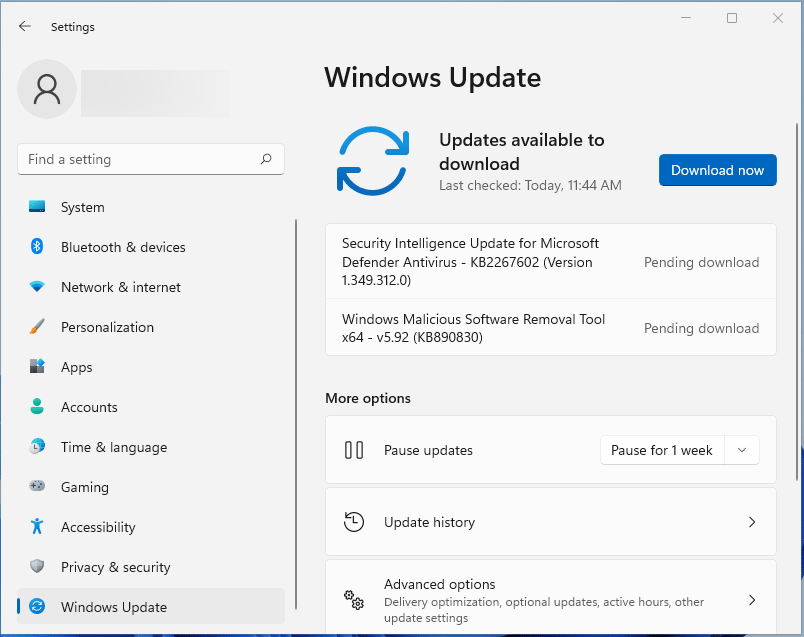
1. Install updates
Go to Start > Settings > Windows Update > Check for updates to see if there are available updates to install.
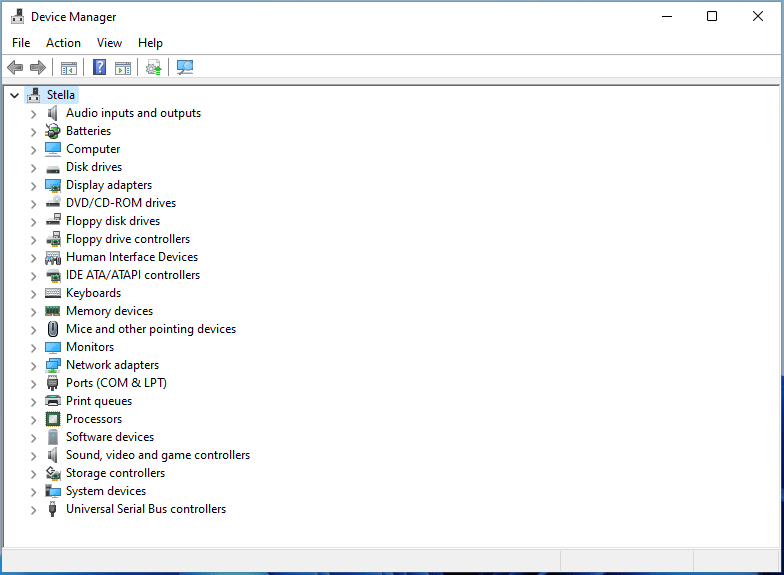
2. Check and install missing drivers
Go to Device Manager and check whether there are missing drivers. If a device has a yellow or red mark, or is marked as unknown, you need to reinstall the device driver to fix it.
3. Activate Windows 11
You also need to activate Windows 11 by going to Start > Settings > System.

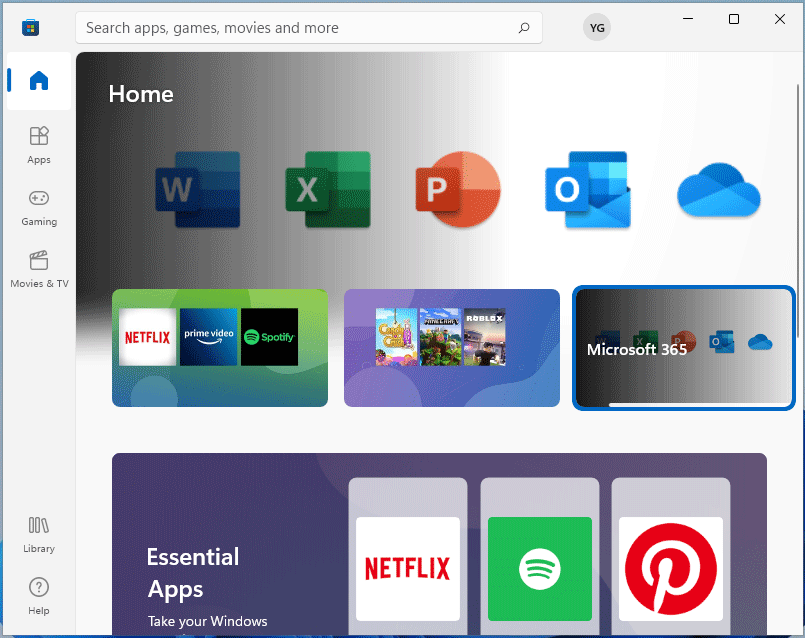
4. Reinstall your needed apps
Your needed apps are removed. You can go to Microsoft Store to download and install them again.
5. Restore your files from the previous backup
You also need to restore your files from the backup file you have made. We don’t know which backup software you use, so we don’t show you the method here. If you don’t know how to restore your data, you can search for the method on the internet.
6. Recover your lost files
If some of your files get lost and you can’t find them from your backup, you can try a professional data recovery program to scan your drive and recover them. MiniTool Power Data Recovery is worth trying.
This free file recovery tool is specially designed to recover all kinds of files from different storage devices on a Windows 11/10/8/8.1/7 computer. It has a trial edition, which allows you to scan your drive for lost and deleted files.
MiniTool Power Data Recovery TrialClick to Download100%Clean & Safe
After downloading and installing this software on your computer, you can open it and select the target drive to scan.
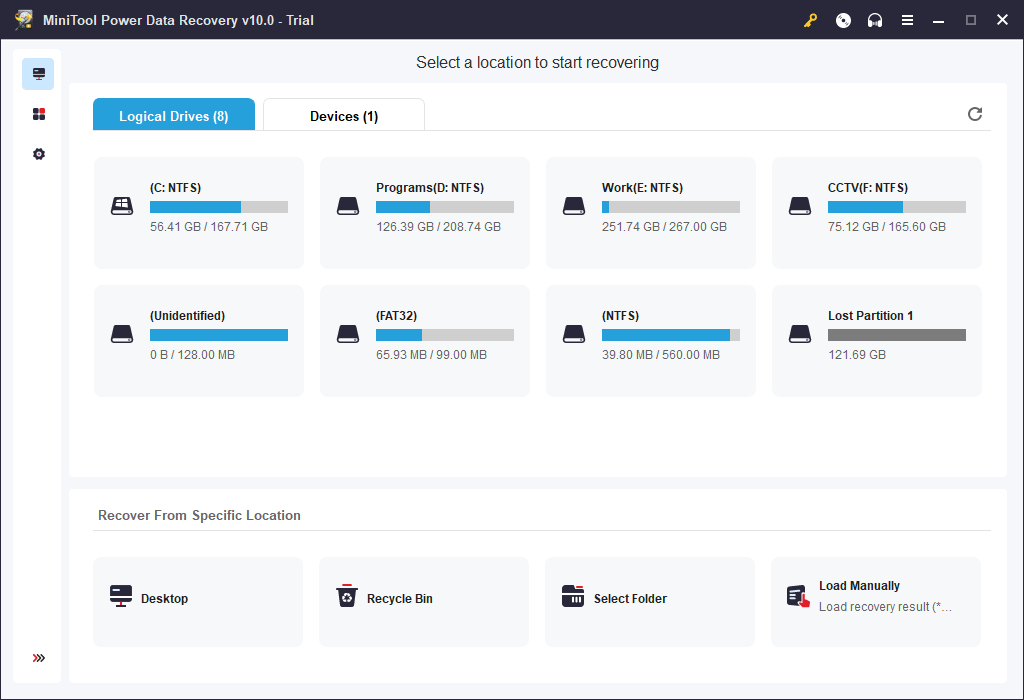
After scanning, you can check if you can find your needed files from the scan results.
If you want to use this software to recover data, you need to upgrade it to a full edition and then select files to save. You should not select the original location of the files to save them. Otherwise, the lost files might be overwritten and become unrecoverable.
![How to Recover Lost and Deleted Files in Windows 11? [6 Ways]](https://images.minitool.com/minitool.com/images/uploads/2021/08/how-to-recover-deleted-files-windows-11-thumbnail.jpg)
Method 2: Migrate Windows 11 to Your Computer
If there is a computer with Windows 11 installed at your hand, you can also directly migrate Windows 11 operating system to your Windows 7 computer. You can use this guide to transfer Windows 11 from one computer to another.
Bottom Line
So far, there are two methods to directly upgrade Windows 7 to Windows 11 for free, and you can find them in this article. If you have any other good opinions and suggestions, you can let us know in the comments. You can also contact us via [email protected].
About The Author

Position: Columnist
Stella has been working in MiniTool Software as an English Editor for more than 7 years. Her articles mainly cover the fields of data recovery including storage media data recovery and phone data recovery, YouTube videos download, partition management, and video conversions.