What is the NVIDIA low latency Mode? How to enable low latency mode NVIDIA? We analyzed several posts and what we have learned is in this post. This post from MiniTool will show you what the NVIDIA Control Panel low latency mode is and how to enable it.
What Is NVIDIA Low Latency Mode?
The NVIDIA low latency mode is a new feature provided by the NVIDIA’s graphics driver, which is intended for competitive gamers and anyone else who wants the fastest input response in their games. The NVIDIA low latency mode feature would be available for all NVIDIA GeForce GPUs in the NVIDIA Control Panel.
The Graphic engines queue frames to be rendered by the GPU, the GPU renders them, and then they are displayed on your computer. In addition, NVIDIA has complained that the NVIDIA low latency mode builds on the Maximum Pre-Rendered Frames feature that has been found in the NVIDIA Control Panel for over several years. So, the NVIDIA Control Panel low latency mode allows you to keep the number of frames in the render queue down.
With the NVIDIA low latency mode, frames are submitted into the render queue just before the GPU needs them. Besides, NVIDIA says that it will further reduce latency by up to 33% over just using the Maximum Pre-Rendered Frames option.
Then it would be work with all GPUs. But it only works with DirectX 9 and DirectX 11 games, In DirectX 12 and Vulkan games, the games decide when to queen the frame so the NVIDIA graphics does not have control over it.
After knowing some basic information about the NVIDIA low latency mode, do you know how to enable it?
So, in the following part, we will show you how to enable the low latency mode NVIDIA.
How to Enable NVIDIA Low Latency Mode?
In this part, we will show you how to enable NVIDIA Control Panel low latency mode.
Related article: Update Your NVIDIA GPU Display Driver Now to Fix Five Vulnerabilities
Now, we will show you how to enable NVIDIA low latency mode.
1. Right-click on the desktop of your computer and then choose NVIDIA Control Panel.
2. In the pop-up window, click Manage 3D settings from the left panel to continue.
3. Then you need to decide how to enable NVIDIA low latency mode. If you want to enable it for all games, select Global Settings. If you want to enable it for one or more specific games, select Program Settings and choose the game you want to enable.
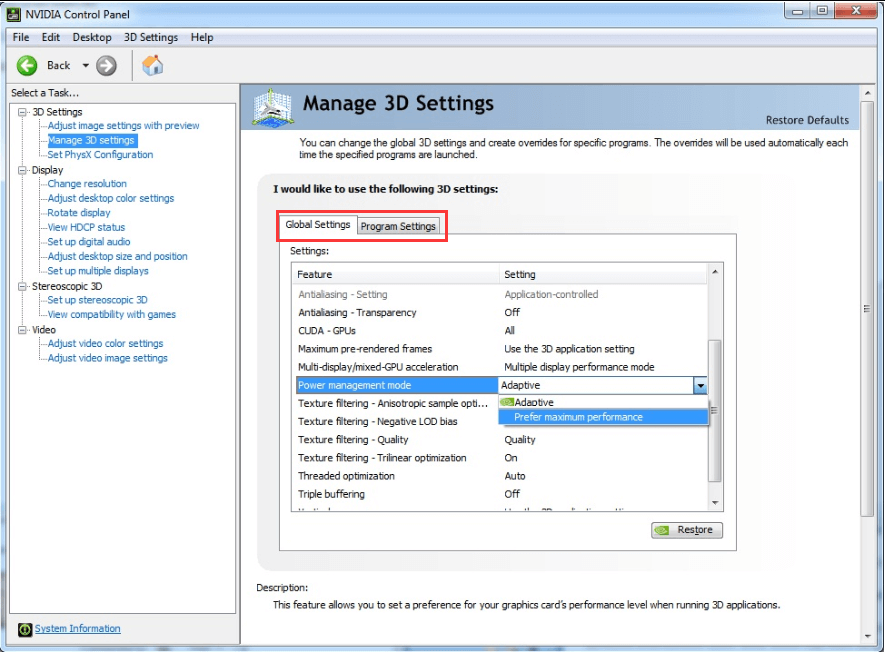
4. Then select Low Latency Mode in the list. Choose Ultra in the setting list on the right. The ultra setting submits the frame just in time for the GPU to pick it up – there will be no frame setting in the queue and waiting.
5. After that, click Apply settings to save your changes.
When all steps are finished, you have enabled the NVIDIA low latency mode. However, please note that enabling NVIDIA low latency mode can hurt performance in many situations. So, it is recommended that enable the NVIDIA low latency mode for specific games. And if you want to disable the low latency mode NVIDIA, just return this page and click Restore to restore the settings to default.
Final Words
To sum up, this post has shown what the NVIDIA low latency mode is and how to enable it. If you want to enable it, try this way. If you have any different idea of NVIDIA Control Panel low latency mode, please share it in the comment zone.