How to Recover Lost Photos on Mac with MiniTool Easily
MiniTool Mac Data Recovery Can Recover Lost Photos on Mac
For Mac users, there should be some photos on their computer. If these photos are lost or deleted by mistake one day, users may feel annoyed. Where are recently deleted photos on Mac? How to recover lost photos on Mac?
Here are some important things users should know. When they delete photos from their computer, these files will not be deleted from the computer immediately. They will be moved to Trash. Before they are deleted from it, users can go to Trash to restore them as soon as possible.
But, if these photos are not in Trash or they have been deleted permanently, users will be unable to retrieve them from it. Unless there is an available backup file, users will need to use a piece of professional third-party Mac data recovery software to get them back.
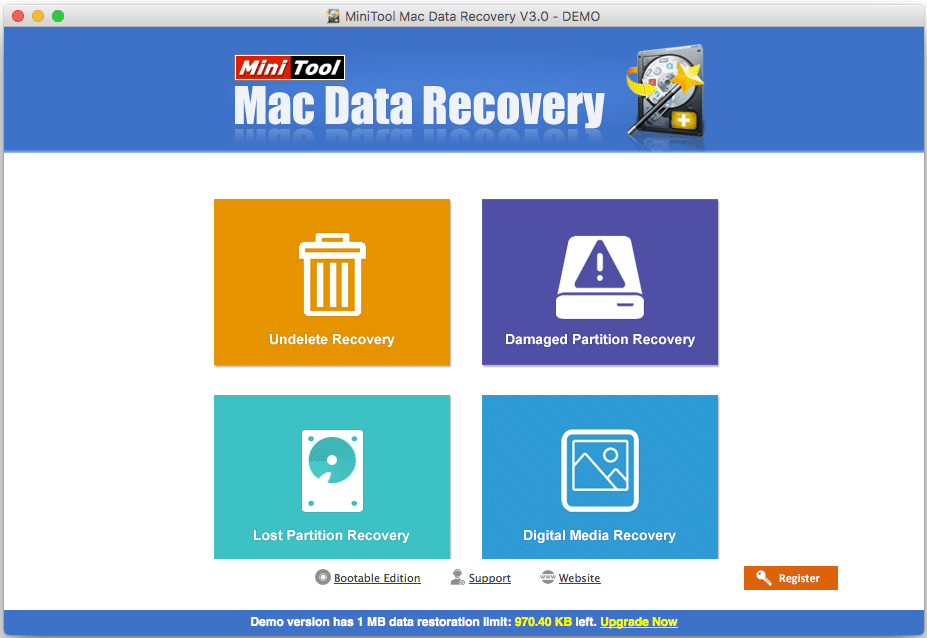
To recover deleted photos Mac free, users can try MiniTool Mac Data Recovery and its Digital Media Recovery module that is designed to restore various kinds of digital media data.
This software is specially designed to restore the lost and deleted files from hard drives, memory cards, USB flash drives, and more on Mac. Of course, it can help users to get their lost photos back easily.
In the following part, we will show users how to use this software to rescue lost Mac photos with this software.
How to Recover Deleted Photos Mac Free with MiniTool
Of course, users need to download and install the DEMO edition of this software on their computer first. And this freeware allows users to recover 1MB data.
Now, press the following button to get it.
After installing this software, users can do the following operations to recover lost photos on Mac:
1. Open the software to enter its main interface.
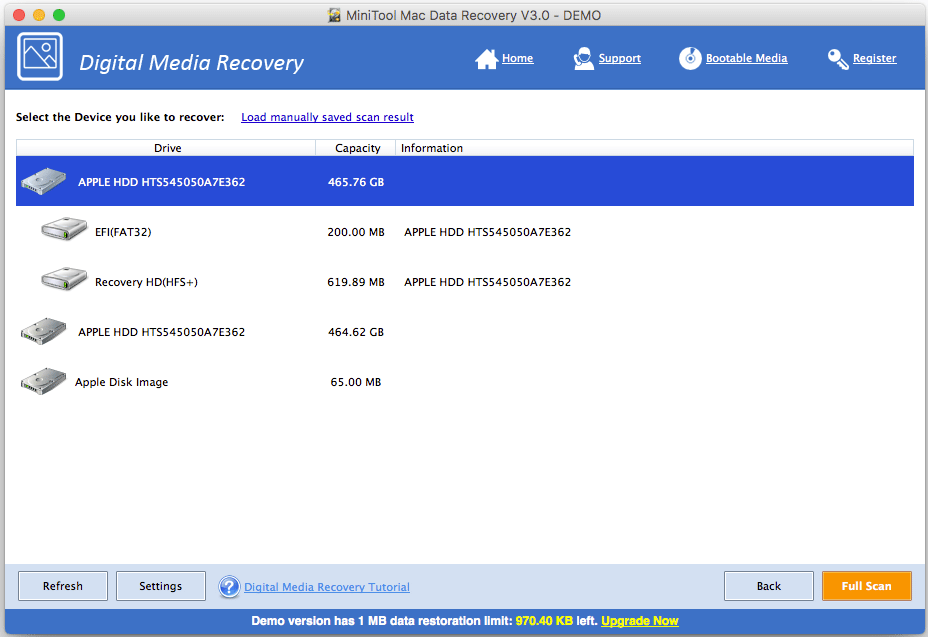
2. Select the Digital Media Recovery module to continue.
3. This MiniTool software will show users the drives it can detect. Then, users need to select the drive which has contained the lost photos and press the Scan button to start the scanning process.
4. It will take a while to finish the scanning process. When it ends, users can see the scan results that are listed by path. Then, users need to open each path to find their needed items.
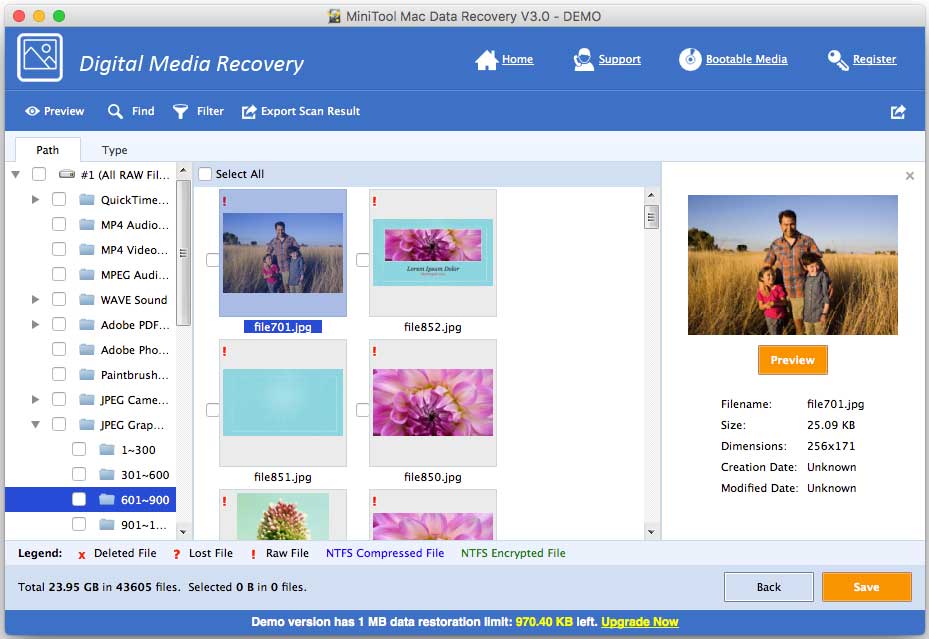
5. After selecting the needed photos, users can click on the Save button to choose a suitable location to save these files. In this step, users need to choose another path rather than the original path to save the selected photos. Otherwise, the deleted items on that partition might be overwritten and become unrecoverable.
After these steps, users can access the specified storage path to use these recovered files directly.
If users want to recover more than 1MB photos, they need to update this software to an advanced edition.