A bootable backup is a backup of your entire system, including Windows installation, settings, applications, and files. When you meet hardware failures, upgrade issues, virus attacks, and other serious errors that can damage your system and files, the bootable backup is useful.
A bootable backup allows you to restore your computer to an earlier date and the system will remain bootable after the restore. If your computer encounters an emergency where it fails to boot properly, you will need a bootable drive to start the computer before you can restore from a bootable backup image.
This post teaches you how to make a bootable backup on Windows 11/10 with 2 tools – MiniTool ShadowMaker and Backup and Restore (Windows 7). You can choose either method based on your own needs.
Way 1: Via MiniTool ShadowMaker
The best backup software – MiniTool ShadowMaker helps make a bootable backup on Windows 10/11. It offers four backup types – system backup, disk backup, partition backup, and file backup. Both system backup and disk backup enable you to make bootable backups.
This program can help you create a system image for an external hard drive, USB drive, or NAS. Above all, it enables you to create a bootable disc or drive with the Media Builder feature. Now, let’s see how to make a bootable backup on Windows 11 with MiniTool ShadowMaker.
1. Download and install MiniTool ShadowMaker.
MiniTool ShadowMaker TrialClick to Download100%Clean & Safe
2. Launch it and click Keep Trial to enter its main interface.
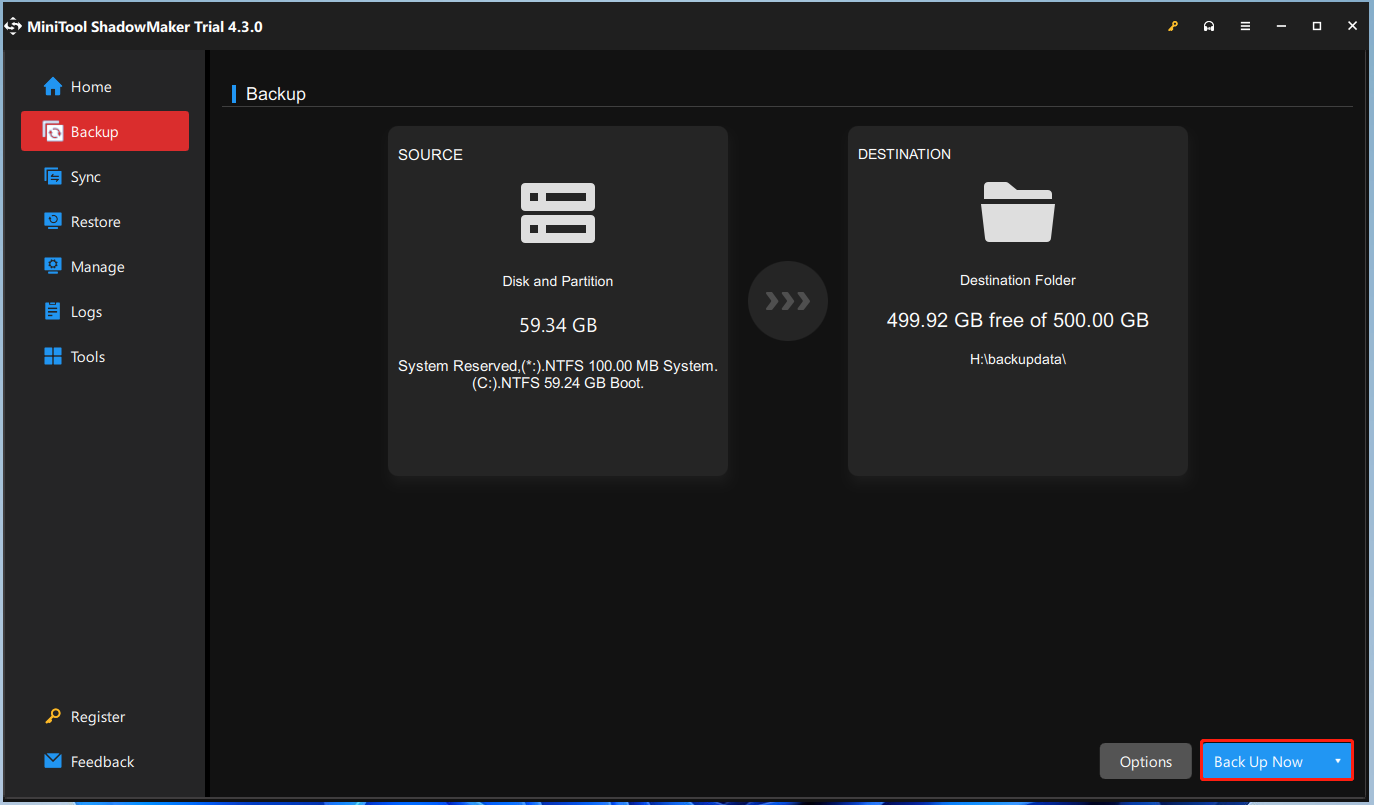
3. Go to the Backup tab and you can see that the system and system-related partitions have been selected.
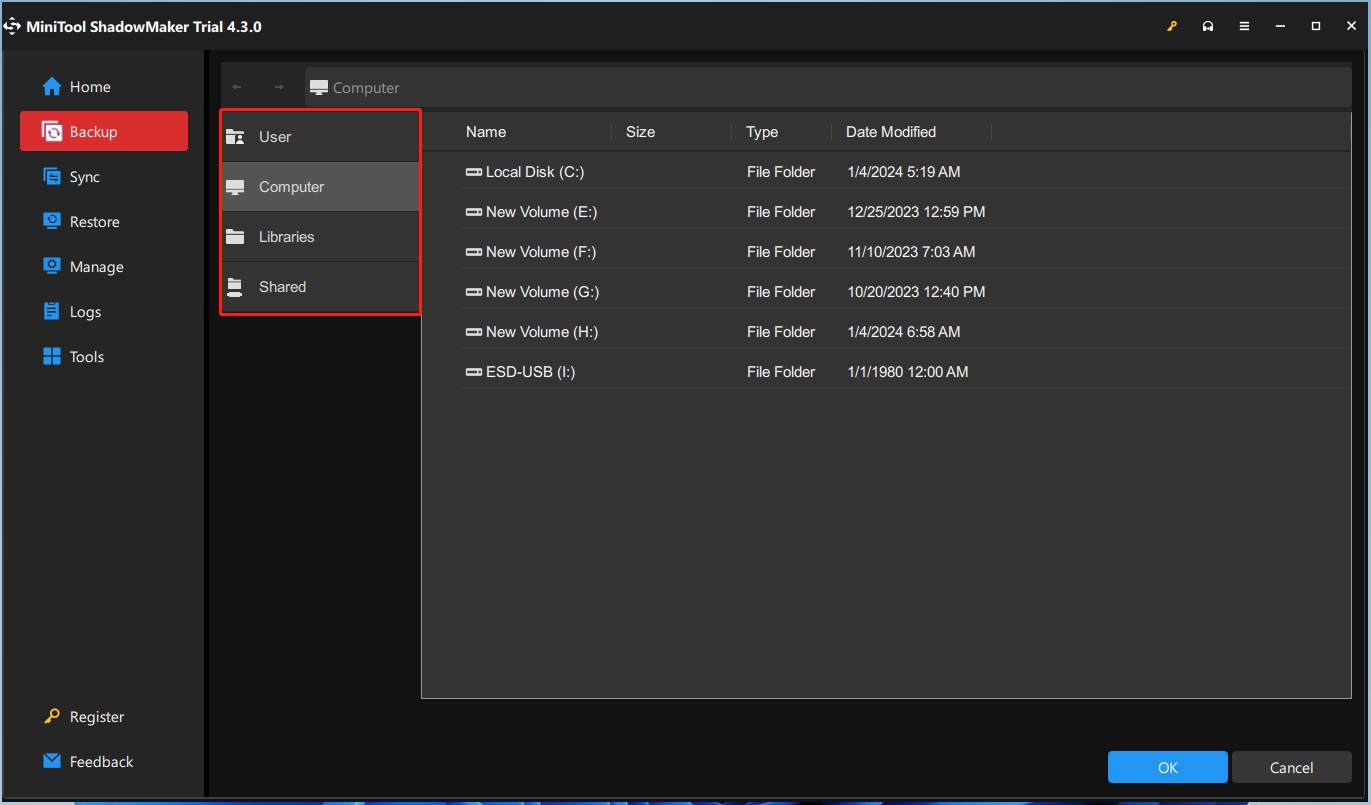
4. Click the DESTINATION part to choose a location to store the backup image.
5. Now, you can click Back Up Now to start the backup task.
6. Go to the Tools tab and click Media Builder.

7. Then, choose WinPE-based media with MiniTool plug-in.
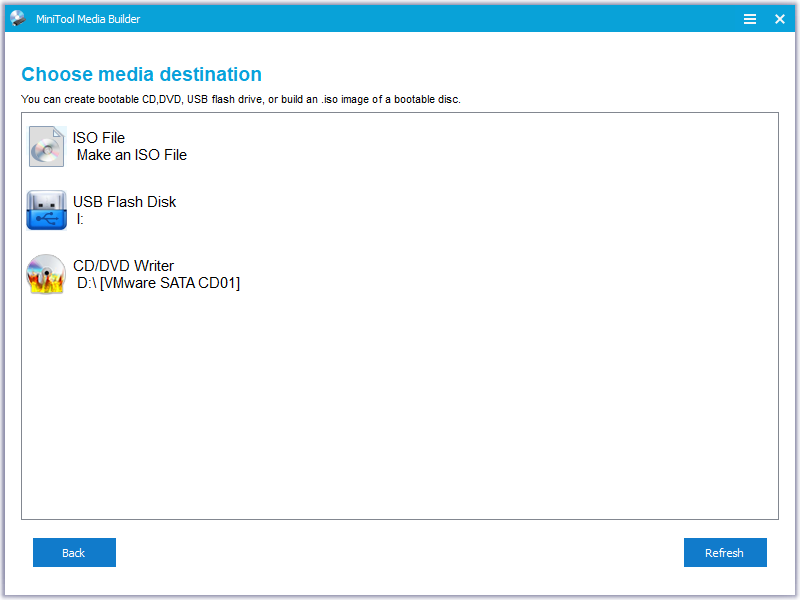
8. Next, you can create a bootable CD, DVD, or USB flash drive, or build an ISO image of a bootable disc. You need to notice that the data on the USB drive will be removed if you choose it as the destination. Thus, you had better back up the data in advance.
9. Click Finish after it creates the bootable USB drive successfully.
Further reading:
In the event of a system breakdown, you can boot the PC from the created media and restore the Windows image from the bootable backup to let the computer run properly. Here is how to use the bootable backup.
1. Connect the burned MiniTool Boot CD/DVD disc to your PC before starting the computer.
2. Wait for the message telling you how to enter BIOS and do as it prompts.
3. Choose the created bootable drive as the first boot device.
4. After making the choices of whether to change screen resolution, and whether to load MiniTool Software, you have come to the main interface of MiniTool bootable edition
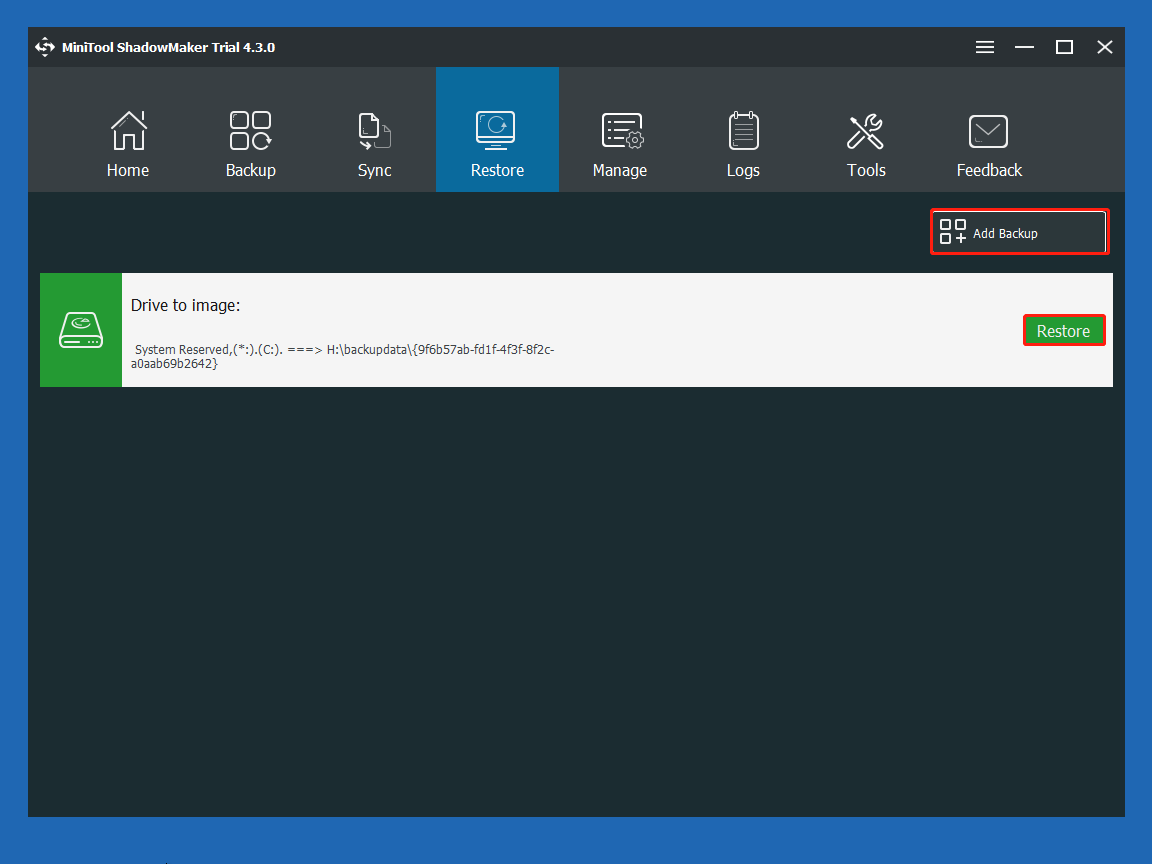
5. Go to the Restore page, click Add Backup to import the system backup file, and click Restore to begin.
6. Choose a backup version to continue. Select volumes to restore from the backup file. Make sure MBR and Track 0 is checked.
7. Decide which target disk you want to restore the system image to. Start the system image recovery process and wait patiently.
Way 2: Via Backup and Restore (Windows 7)
Just like Windows 10, Windows 11 inherits the Backup and Restore (Windows 7) tool. This utility allows you to set up custom backups to back up specific files and folders. It also provides the Create a system image feature to create a bootable backup on Windows. Here is how to make it.
1. Type Control Panel in the Search box to open it.
2. Change View by: to Category. Then, choose Backup and Restore (Windows 7).
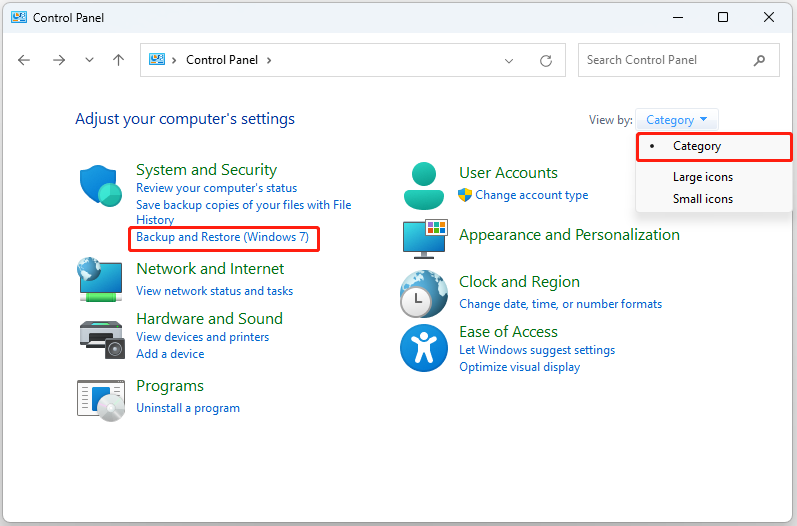
3. Click Create a system image.
4. Choose a drive to save the bootable backup. It could be a USB or a hard drive, a DVD, or a network drive. Then, click the Next button.
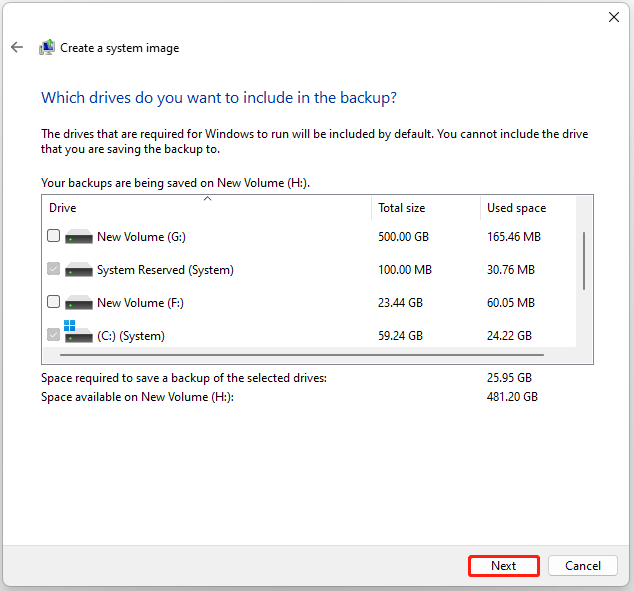
5. The drives that are required for Windows to run have been selected by default. Click Next to go on.
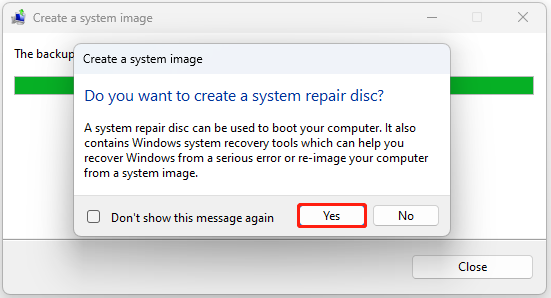
6. Click Start backup to begin the backup task. It will take some time and you need to wait patiently. When the task is finished, it will ask you if you want to create a system repair disc. You can click Yes.
7. Select a CD/DVD drive and insert a blank disc into the drive. Then, click Create disc to start.
Further reading:
After learning how to make a bootable backup on Windows 11, we will introduce how to use it. Insert the bootable backup media into your PC and start it up. Your computer should boot from the media automatically. If it doesn’t, you may need to change the boot order of your drives.
When the PC boots from the recovery media, you’ll see options for troubleshooting and repairing your PC. You can refresh and reset your PC or access advanced options to recover from a system image.
Final Words
How to make a bootable backup on Windows 11? This post provides 2 tools. Just choose one based on your actual situation. If you have any issues or suggestions on this topic, send an email to [email protected] and we will reply to you as quickly as possible.
About The Author

Position: Columnist
Having been an editor at MiniTool since graduating college as an English major, Daisy specializes in writing about data backups, disk cloning, and file syncing as well as general computer knowledge and issues. In her free time, Daisy enjoys running and going with friends to the amusement park.